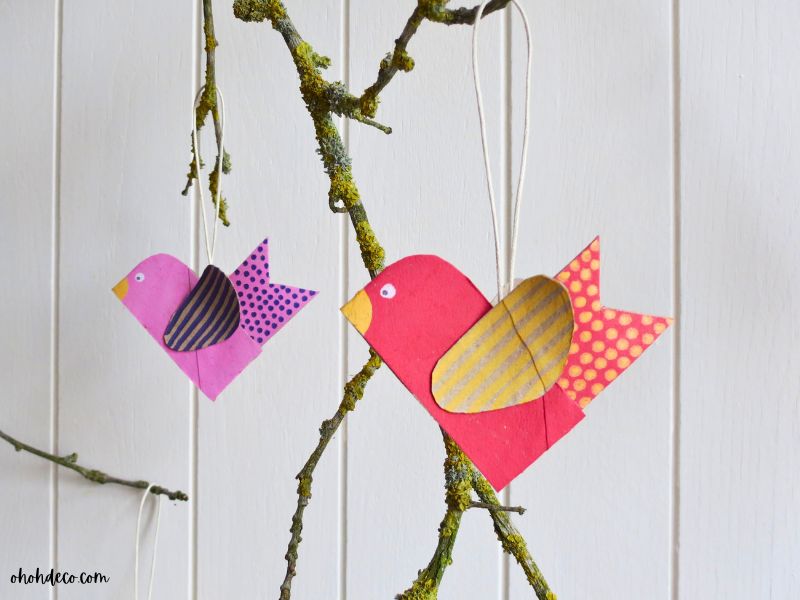

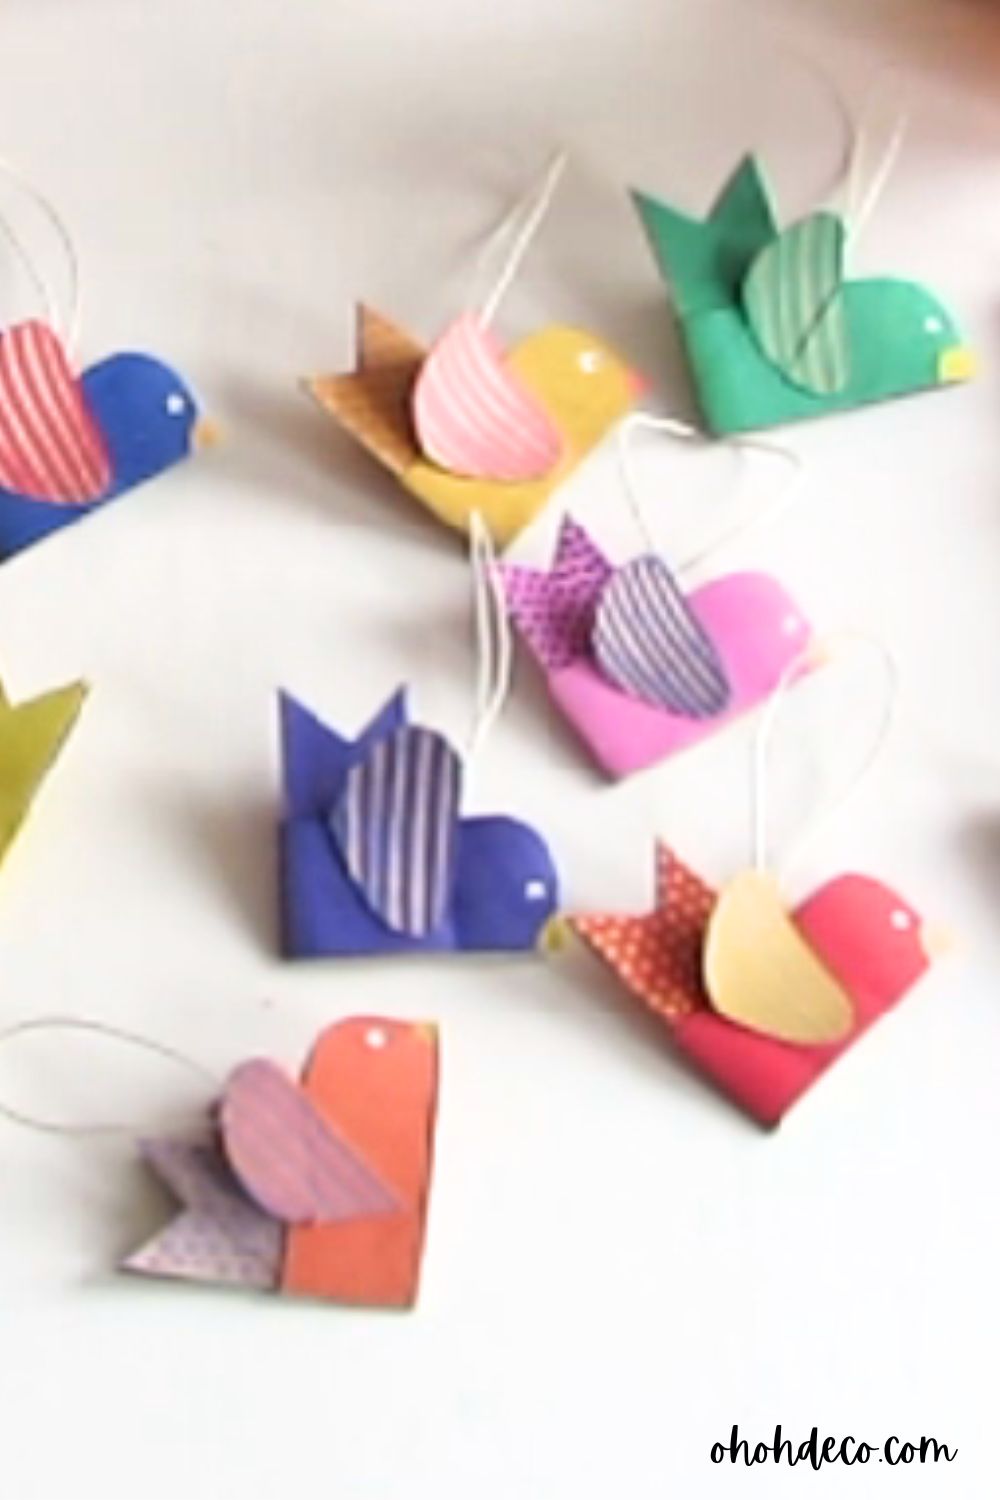
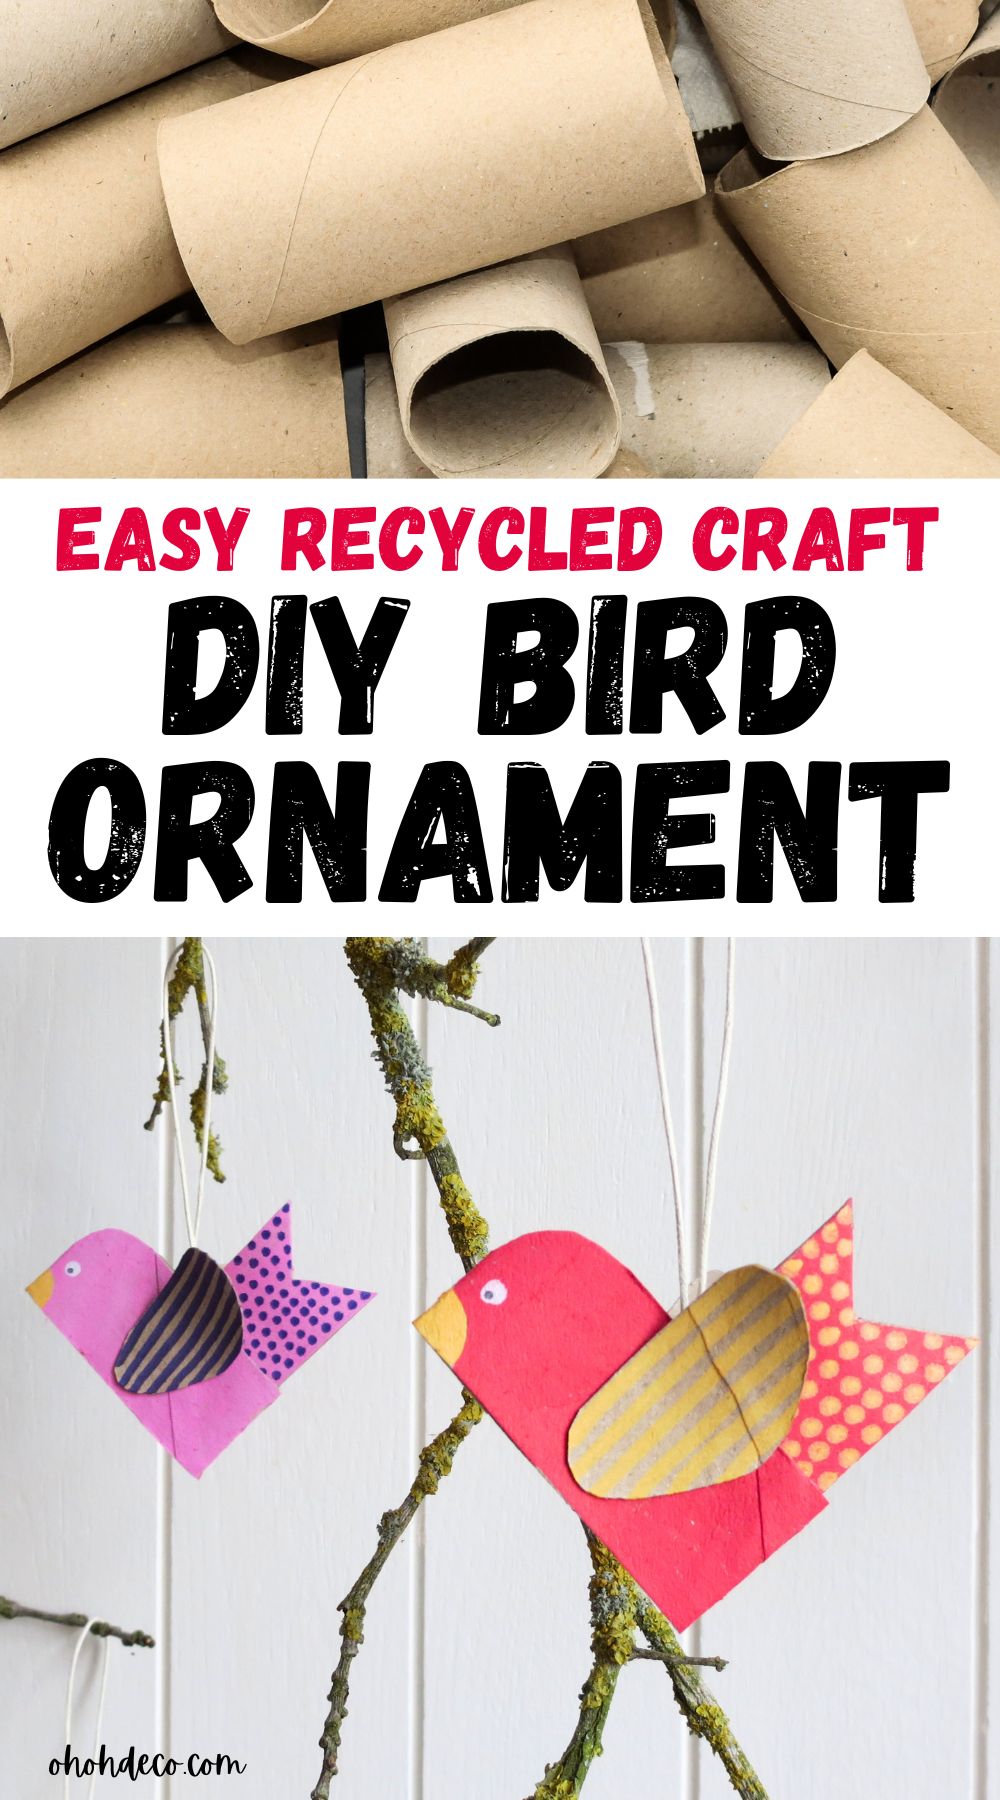
Crafting is a wonderful way to express creativity while also being kind to the environment. Let’s dive into a fun and simple bird craft project that takes something as ordinary as a toilet paper roll and transforms it into cute bird ornaments.
This easy-to-make bird craft is perfect for both adults and kids, plus it allows you to unleash your creativity and customize your creation in any way you like.
Whether it’s with vibrant paints, colorful markers, or embellishments like feathers and beads, the options are endless.
Gather your supplies and let your imagination soar as you bring your bird to life with your personal touch.
Let´s start this upcycled craft, and watch as your unique masterpiece takes flight!
[ This post probably contains affiliate links, our full disclosure policy is boring, but you can read it HERE ]
Materials Needed
To start, gather your supplies. You will need:
You can also use:
Watch the Bird Craft Step-by-Step tutorial:
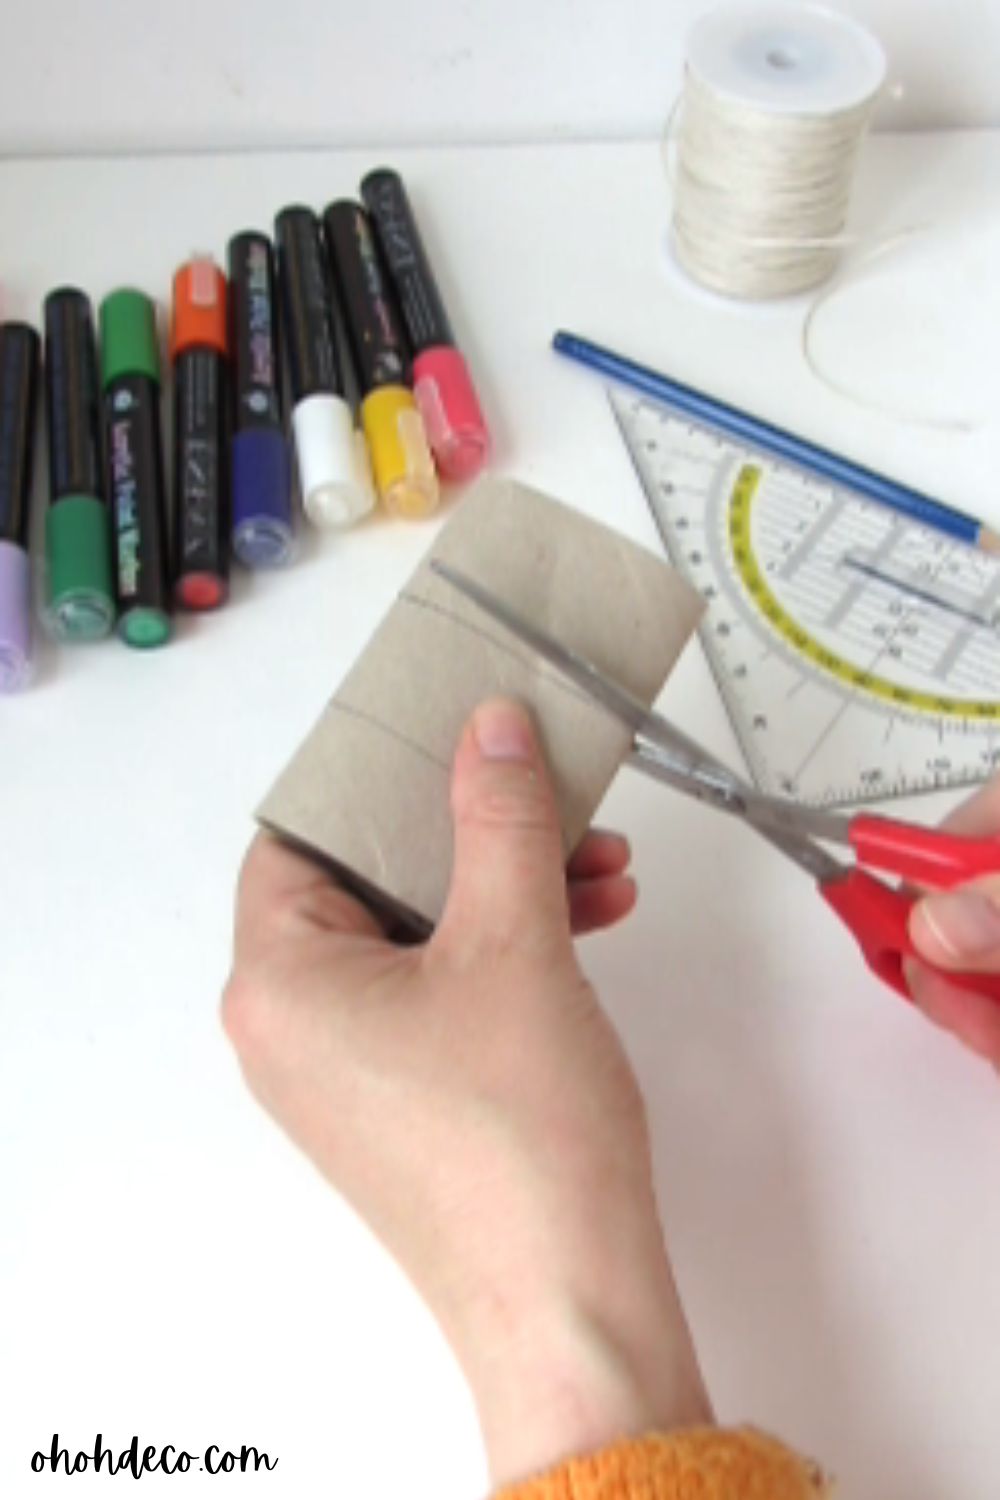
Step 1: Prepare the Toilet Paper Roll to make the Bird Craft
Start by pressing flat the cardboard roll it. Then, measure 3 cm twice. Trace two lines and cut along those lines. These two pieces will form your bird’s body.

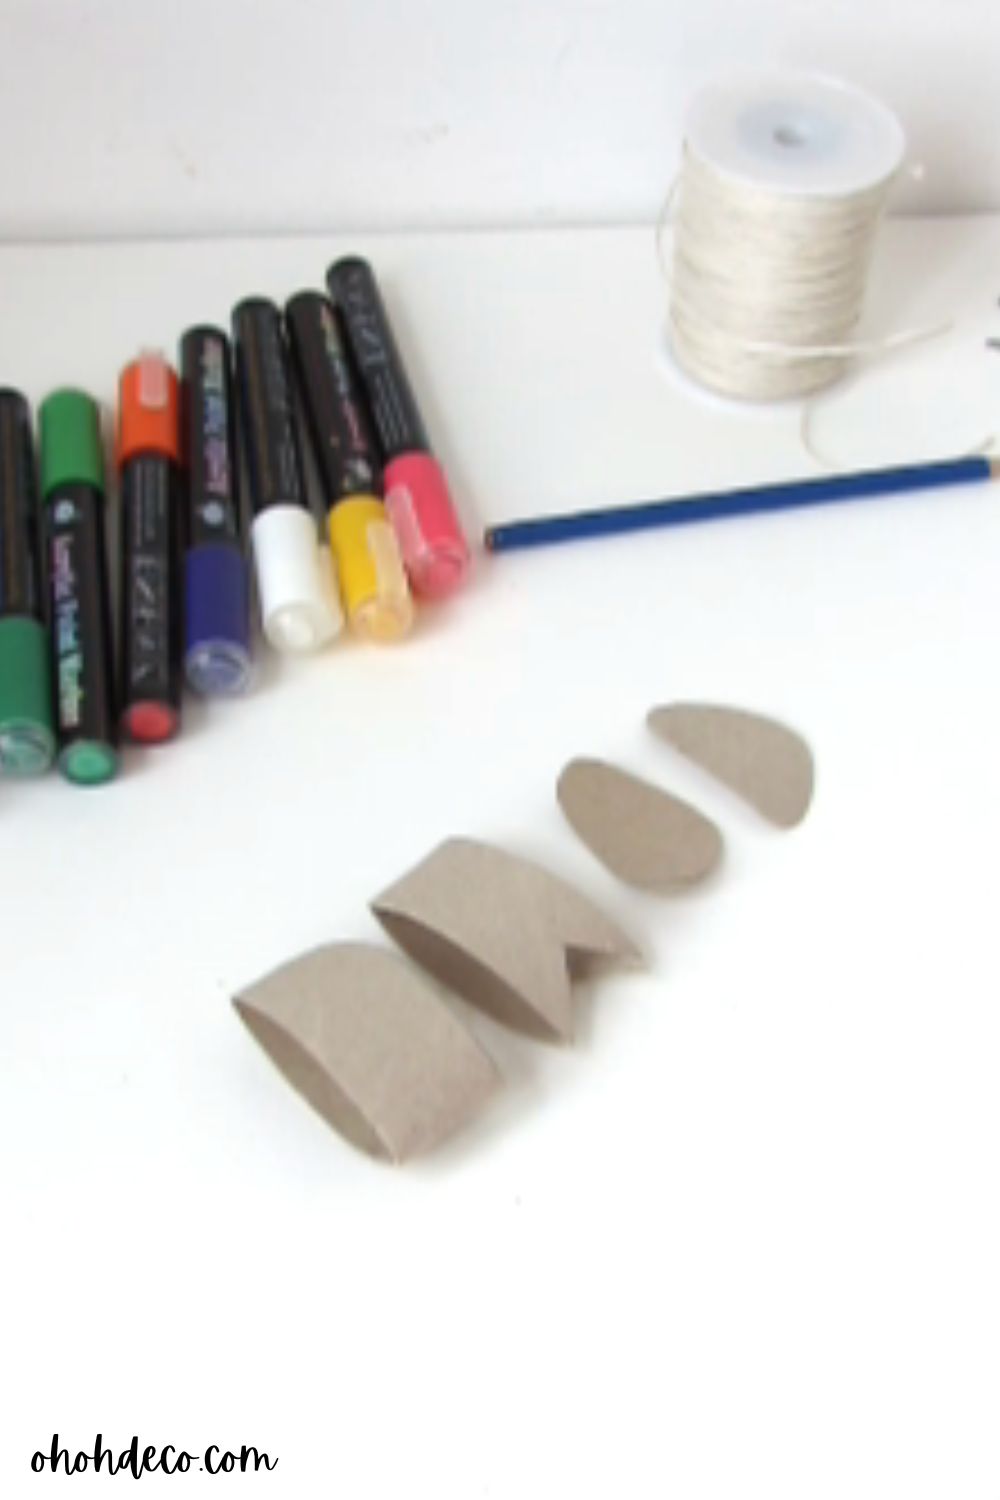
Step 2: Shape Your Birds
Once you have your sections, it’s time to shape them. Take the first piece and round one angle to make the bird head and body.
Next, take the other piece and cut a V-notch on one side to create the bird’s tail.
Then take the third piece and draw a wing shape on it. It’s a simple design, and then you can cut it out to have two identical cardboard pieces to make the bird wings.

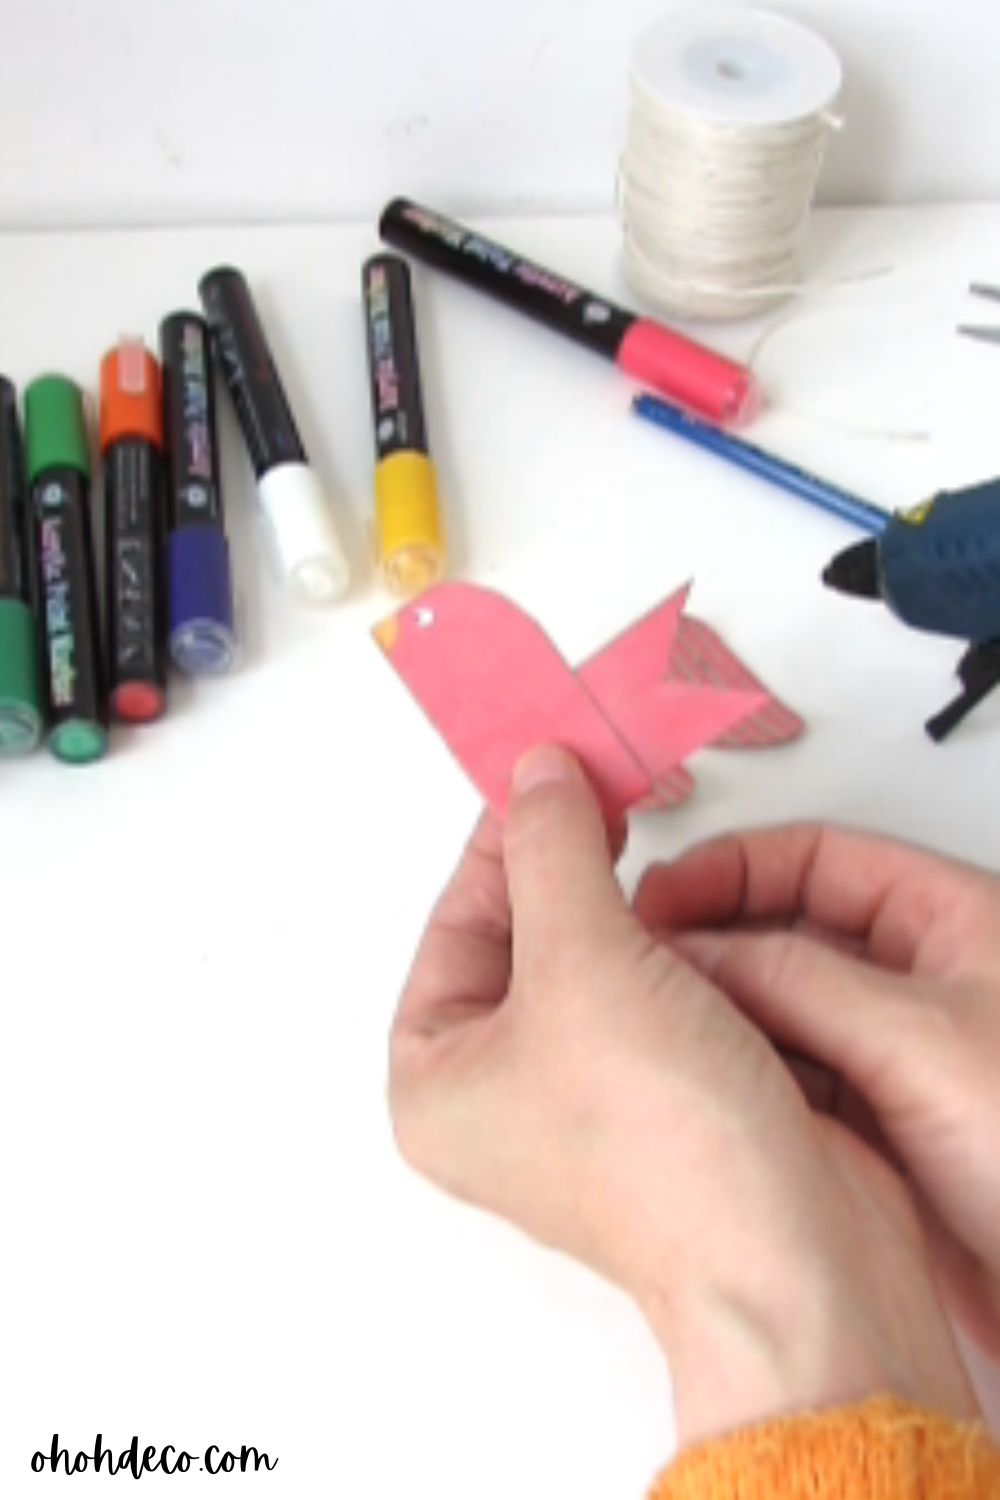
Step 3: Assemble the bird
Slide the tail shape piece into the body one to form the bird. Add a dot of glue inside to hold both pieces together.
Then glue the wings on each side to complete your bird craft.
I used a glue gun to fix the cardboard, but if you’re working with children, you can use regular white glue or silicone glue.

Step 4: Paint Your Birds
Using paint markers or acrylic paints, it’s time to paint your birds in vibrant colors.
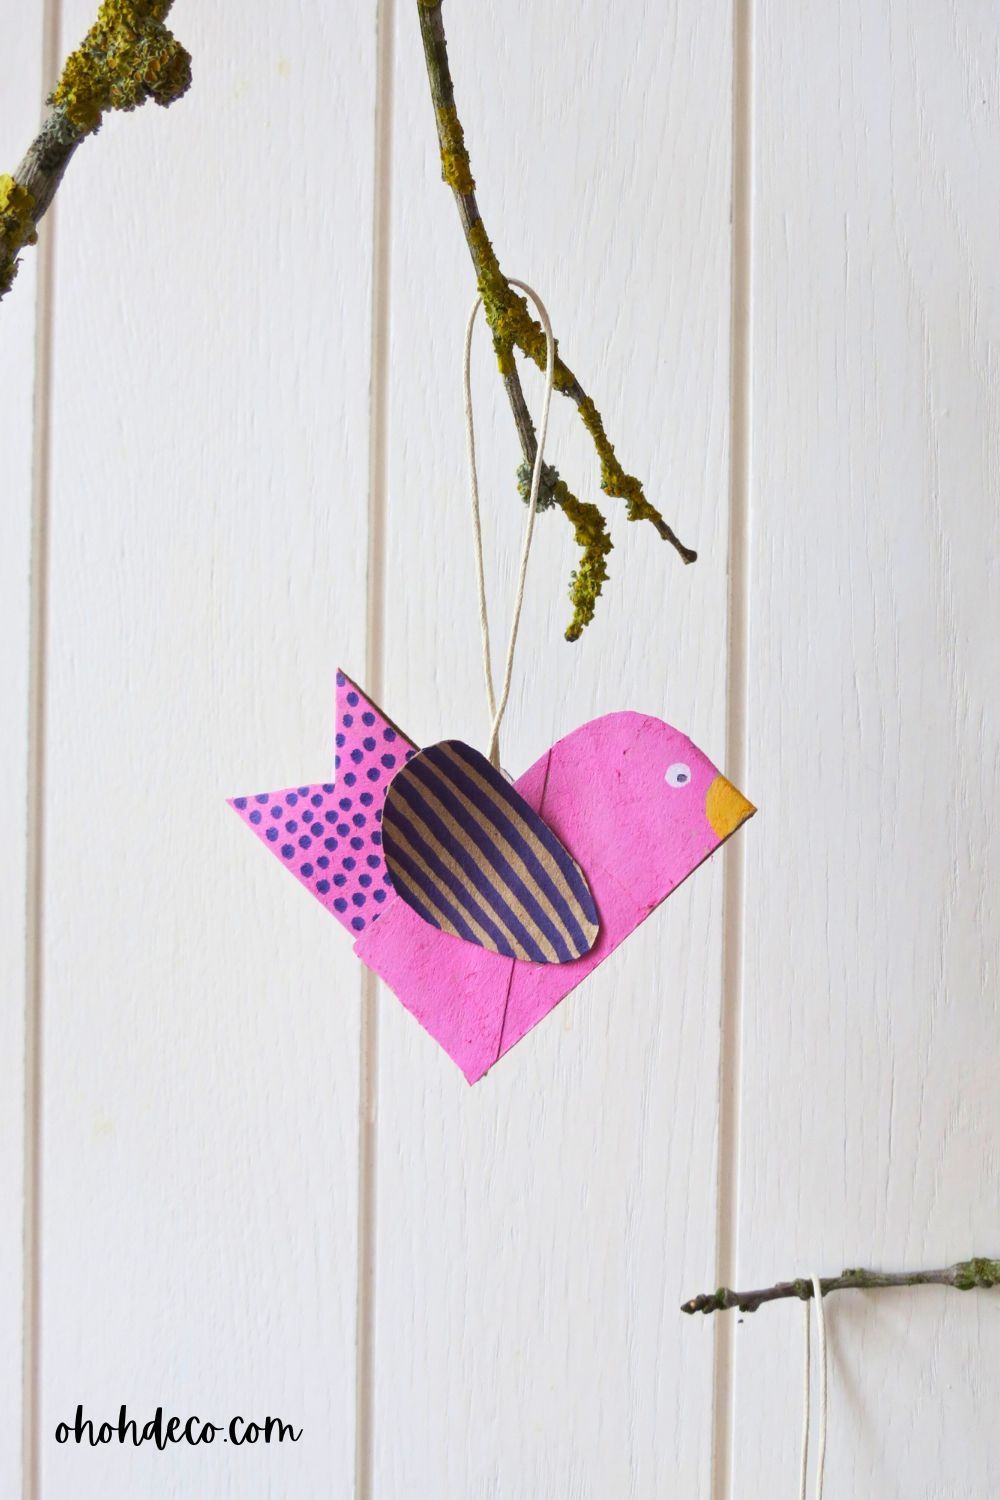
I chose pink and I kept it simple with lines and dots, but you can create any decoration you like in any colors. You can make it more elaborate by adding feathers or embellishments.
I used a yellow paint marker to draw a beak and added a white dot on both sides for the eyes.
Encourage kids or fellow crafters to use their imagination; combining colors makes for beautiful results. Allow the paint to dry completely before moving on to the next step. A second coat may be required for a more polished look.

Step 5: Hang the bird craft
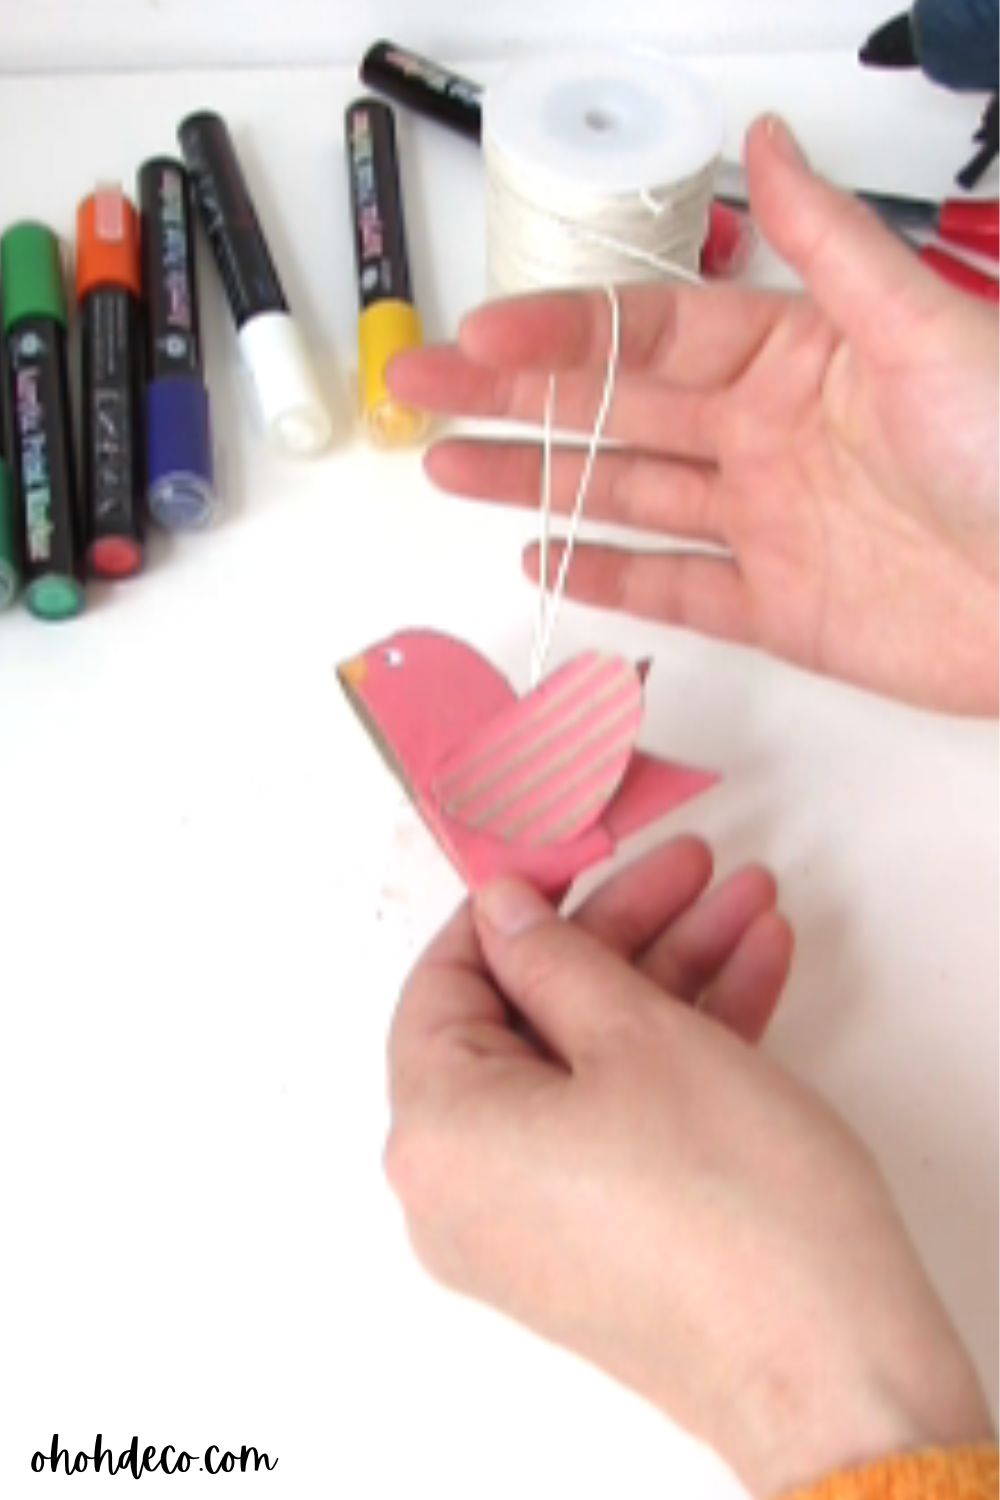
To turn your creations into ornaments, measure out a length of string or twine fold it to make a loop.
Slide it inside your bird and add some glue to secure it in place.
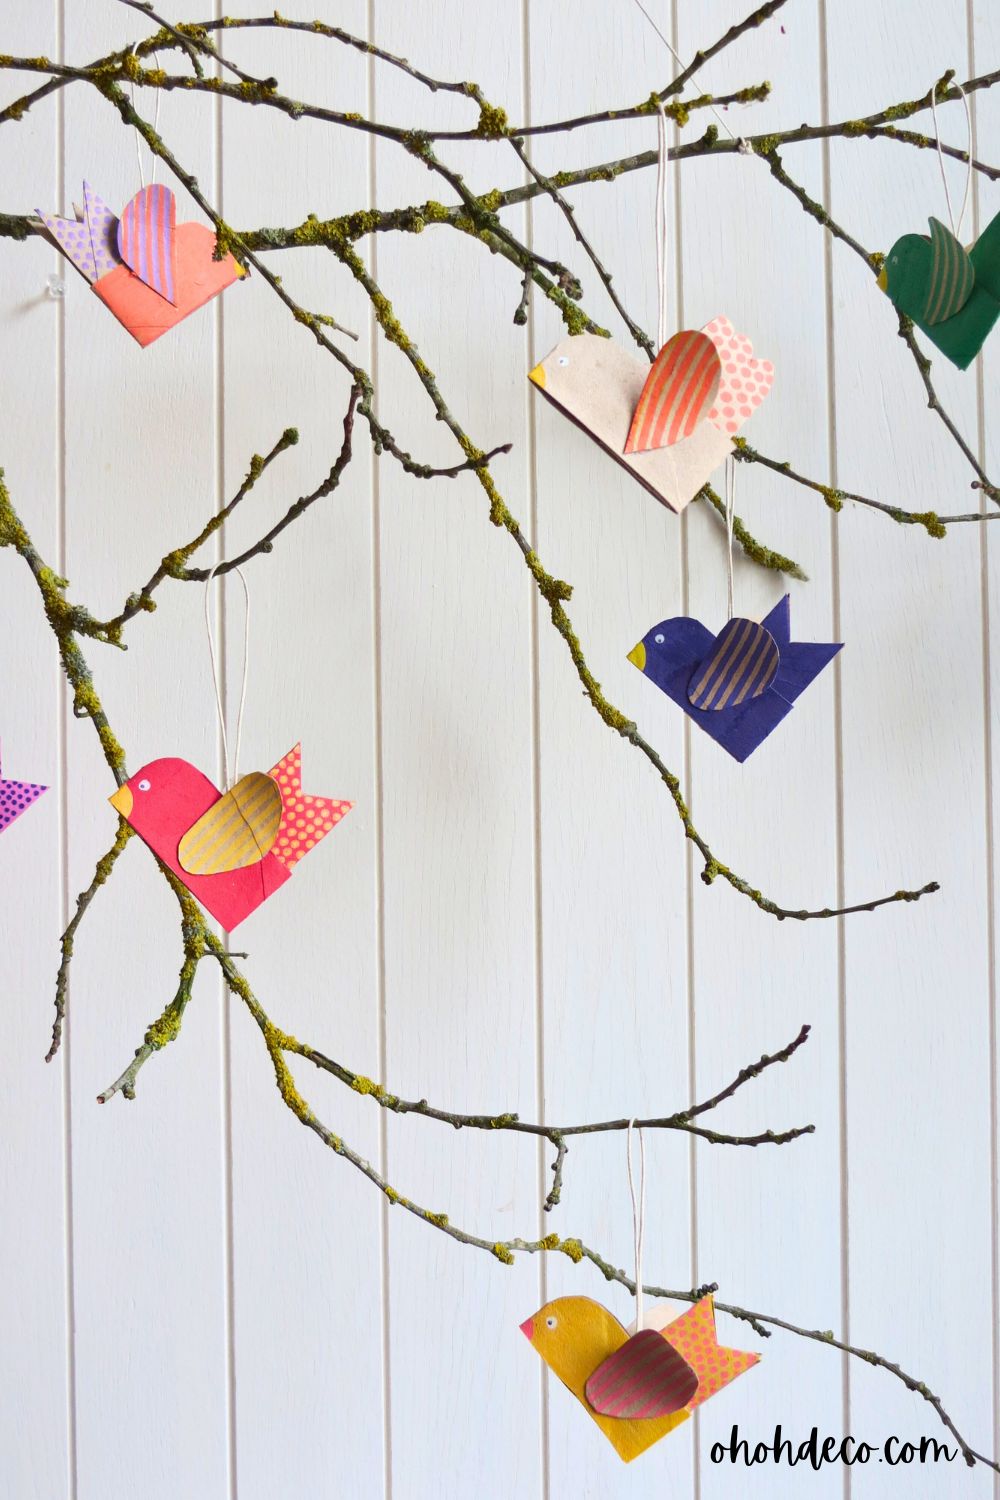
You are ready to hang your ornaments from branches, hooks, or wherever you choose.

Step 6: Display Your Creation
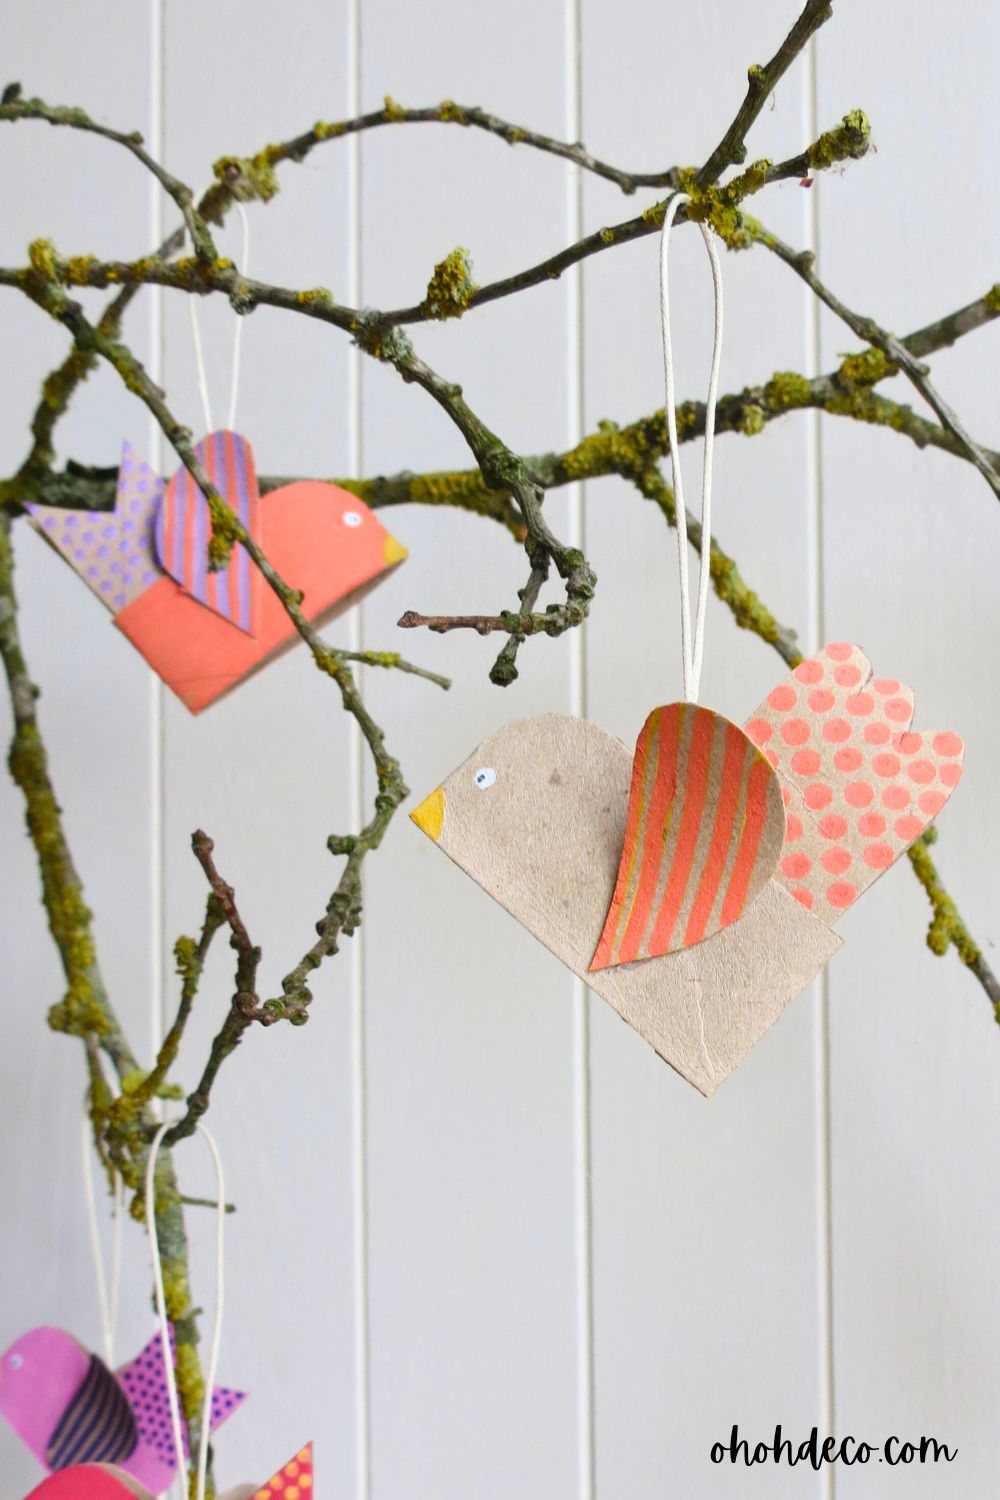
Finally, find a lovely place to hang your charming bird ornaments. They could adorn your holiday tree or a window, brighten up your craft room, or be part of a whimsical garland displayed across your mantelpiece.
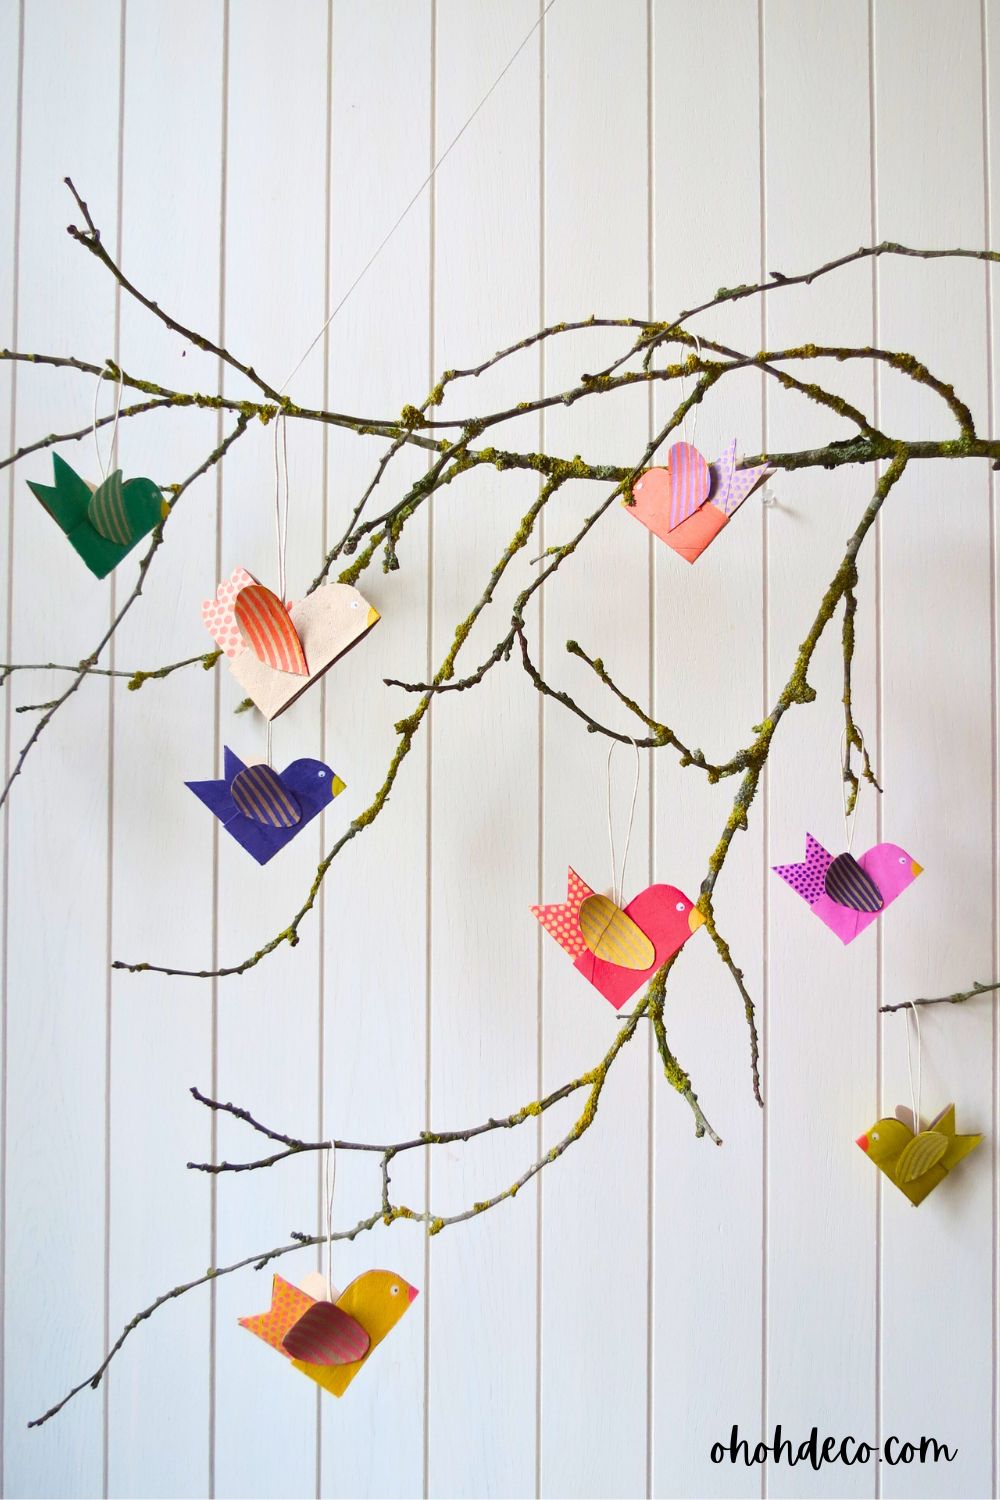
Keep reading as I show you a nice idea to create a wall decor using the DIY birds ornaments.
Try to find a branch in your backyard or during a walk.
Secure a piece of rope at each end so that I can easily hang it on a wall. Put a nail on the wall and hang the branch. Next, you just need to display the birds where you like. Enjoy your new wall decor!

Conclusion
Upcycling toilet paper rolls into adorable bird ornaments is an excellent way to practice sustainability while indulging in your crafting passion.
It’s a fun project you can tackle alone or with friends and family. So gather your materials, unleash your creativity, and enjoy the flutter of crafting your own flock of birds!
RELATED: 30 Toilet Paper Rolls crafts ideas for adults
RELATED: Toilet paper roll Christmas crafts: 37 Unexpected Ideas

.

.

Want to remember it? Save this Bird Craft on your favorite Pinterest board

Amaryllis