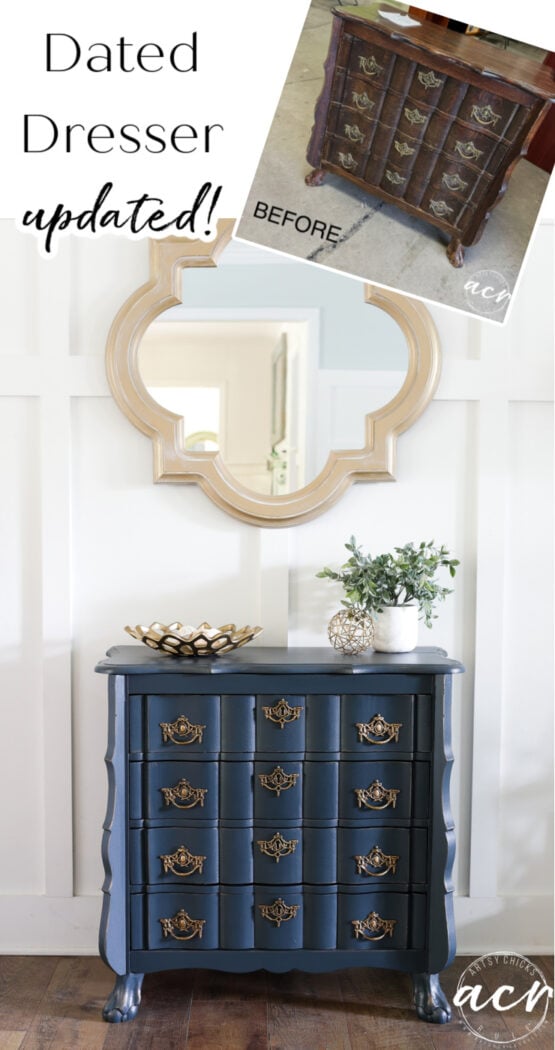
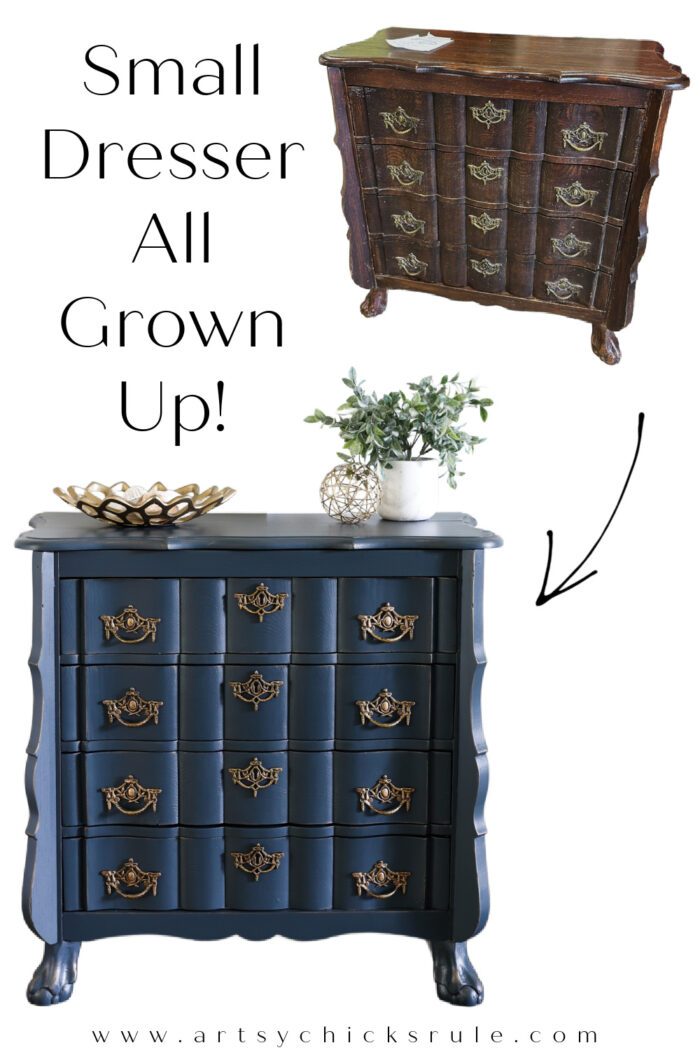
This small dresser makeover turned this tired, dated ReStore find into an elegant lady ready to wow for years to come!
Hello, beautiful friends! Happy Trashy Treasure Tuesday!
Before I get started, I have some sad news. Larissa at Prodigal Pieces has decided to leave the group and pursue other things. We will miss her! So, for now, it will be me, Christy, and Denise. We may add someone, but not sure who just yet.
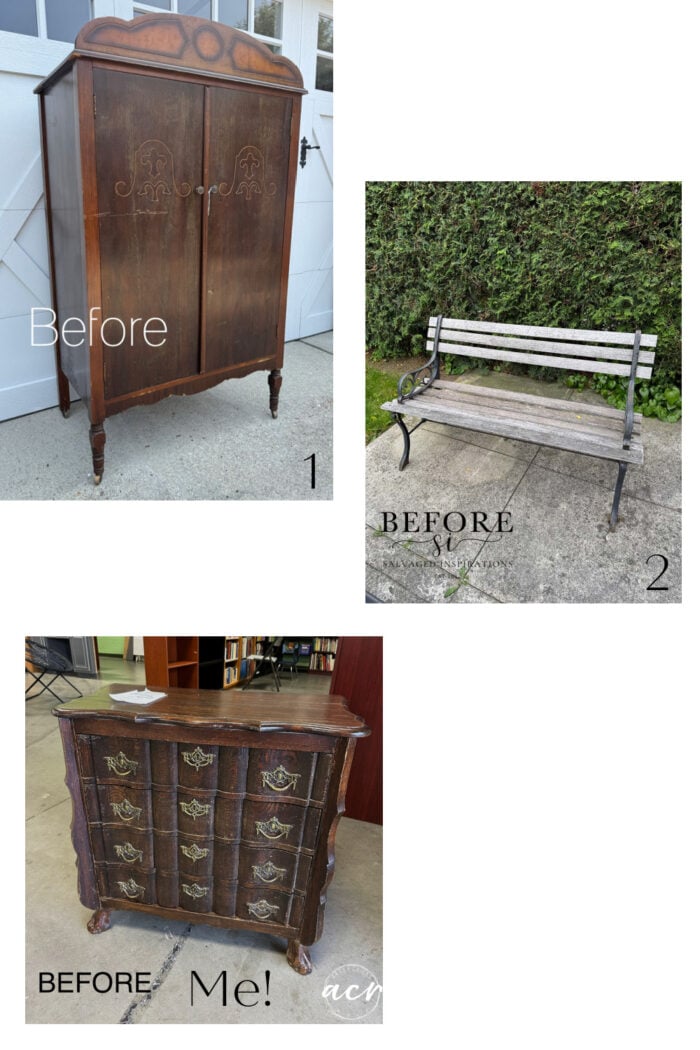
I’m sharing a super cute and unique small dresser today. I found it at the ReStore last week and snapped it right up!
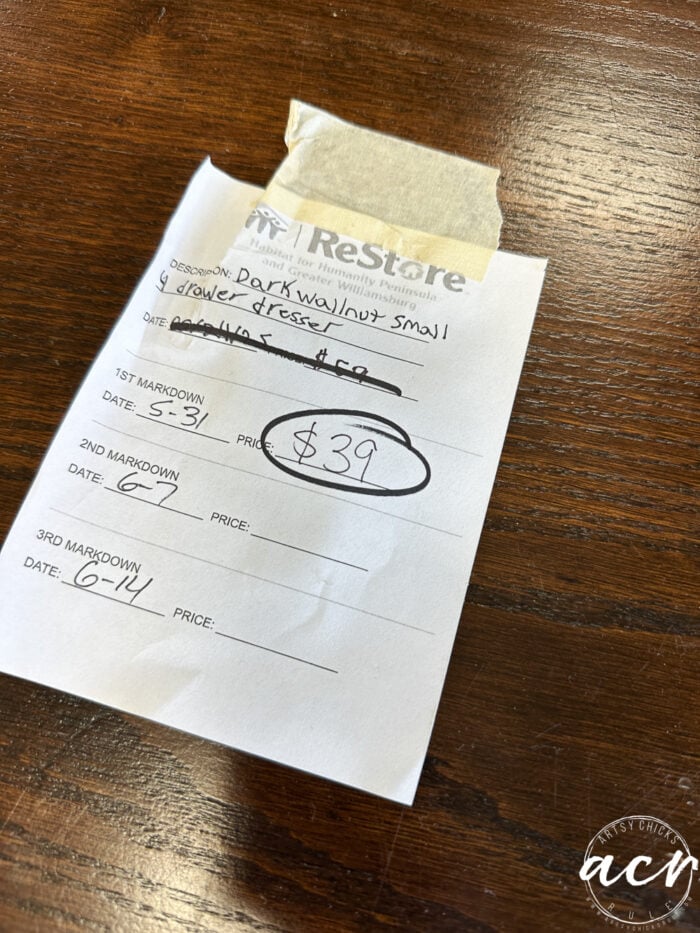
And I was happy to get it for $39, too. First markdown, I’ll take it!
It might have come down even more, but someone else would’ve probably snagged it then!
Here is how it looked when I found it.
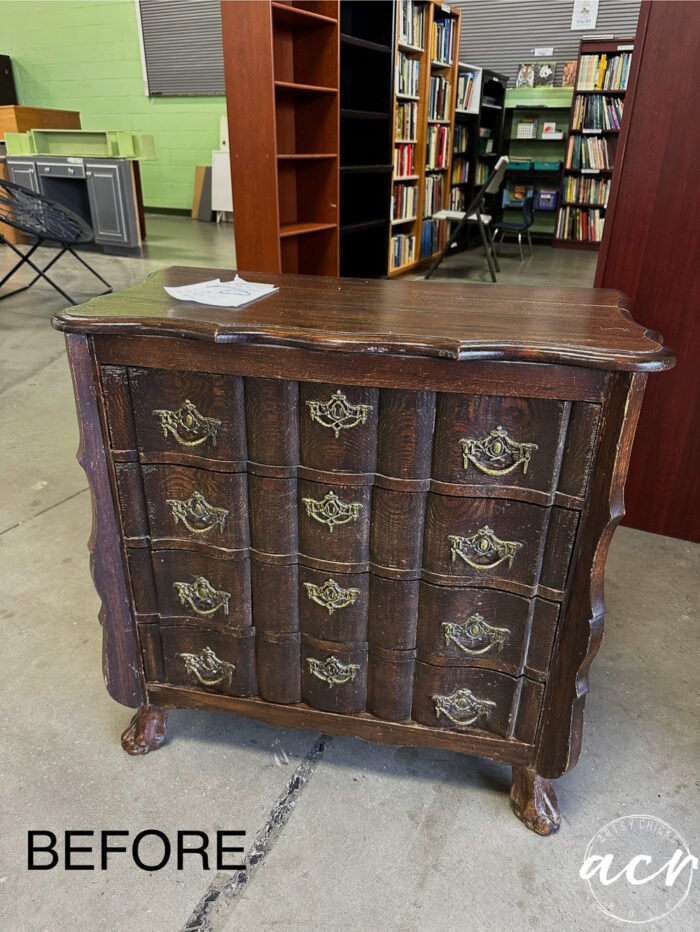
Dated, tired, but oh so unique!
REMOVE HARDWARE AND SAND
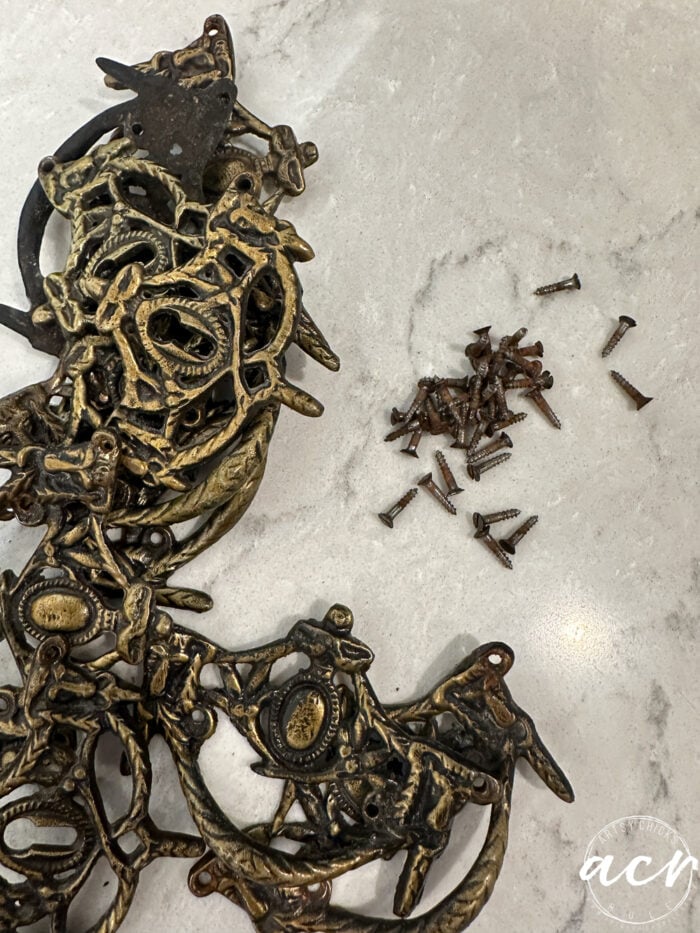
I removed all of the hardware, which took forever. Whew, this one is a bit “extra” with all of that. lol
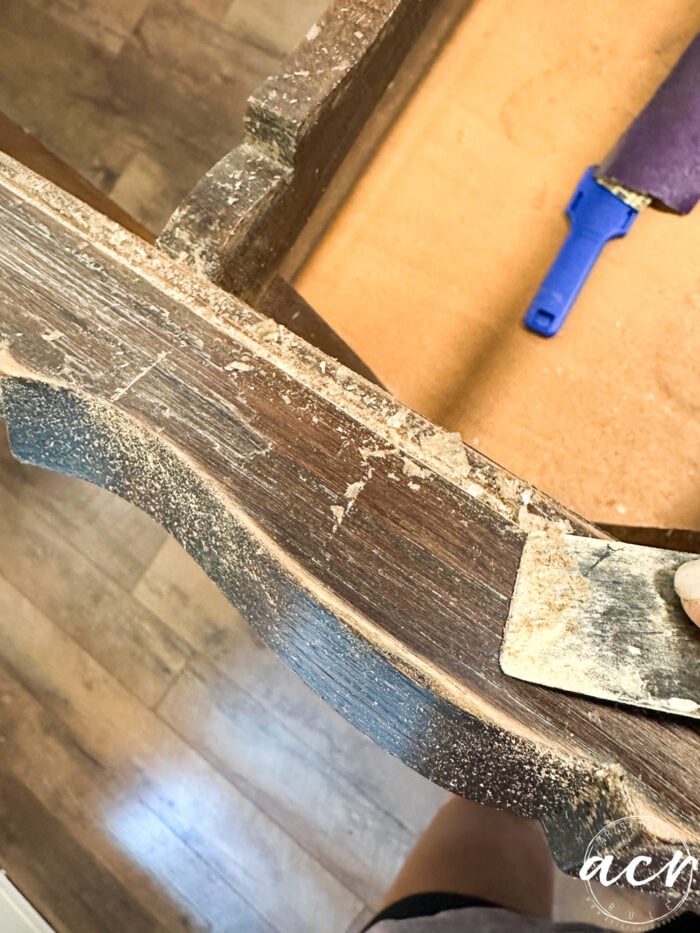
I sanded to smooth the finish and to get it ready for painting.
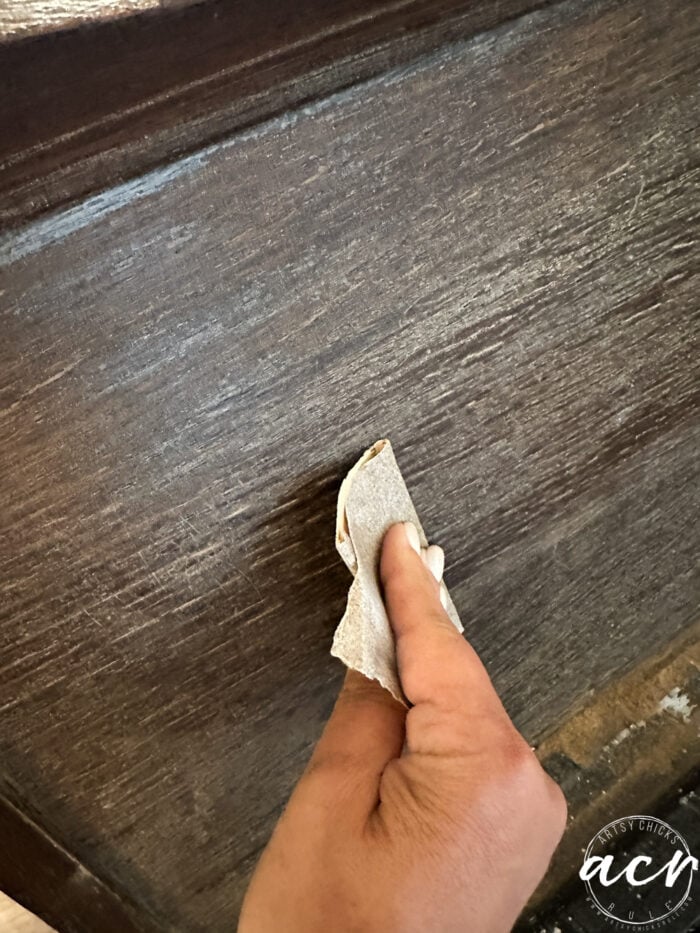
The finish was flaking off all over so I also used a putty knife to move things along quicker.
CLEAN & PRIME (ULTRA GRIP)
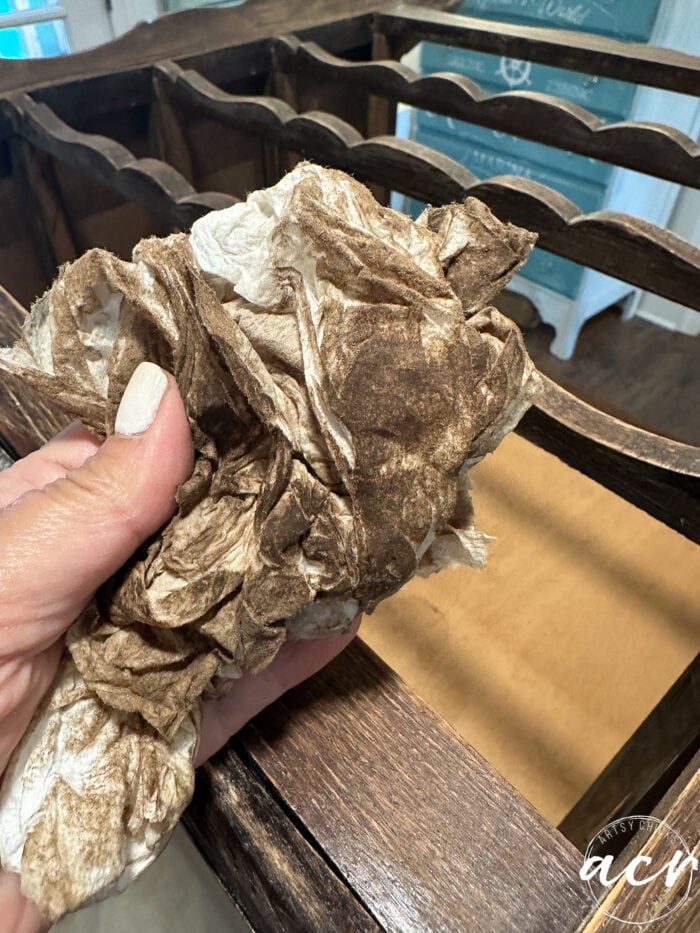
Once I was done sanding, I cleaned the whole thing well with TSP Alternative cleaner in my continuous sprayer.
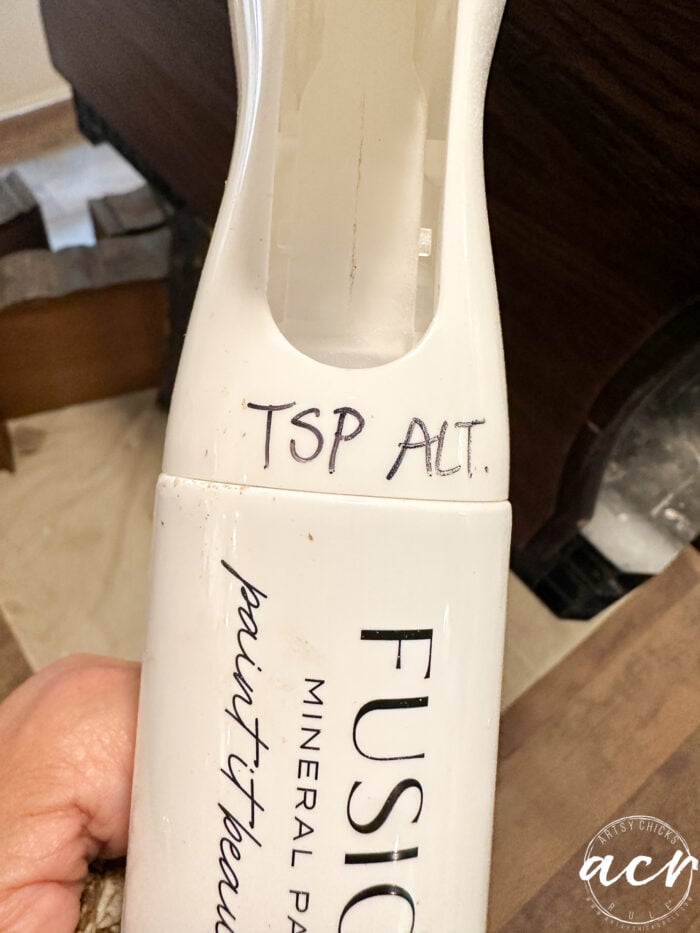
Yuck! But it got it nice and clean.
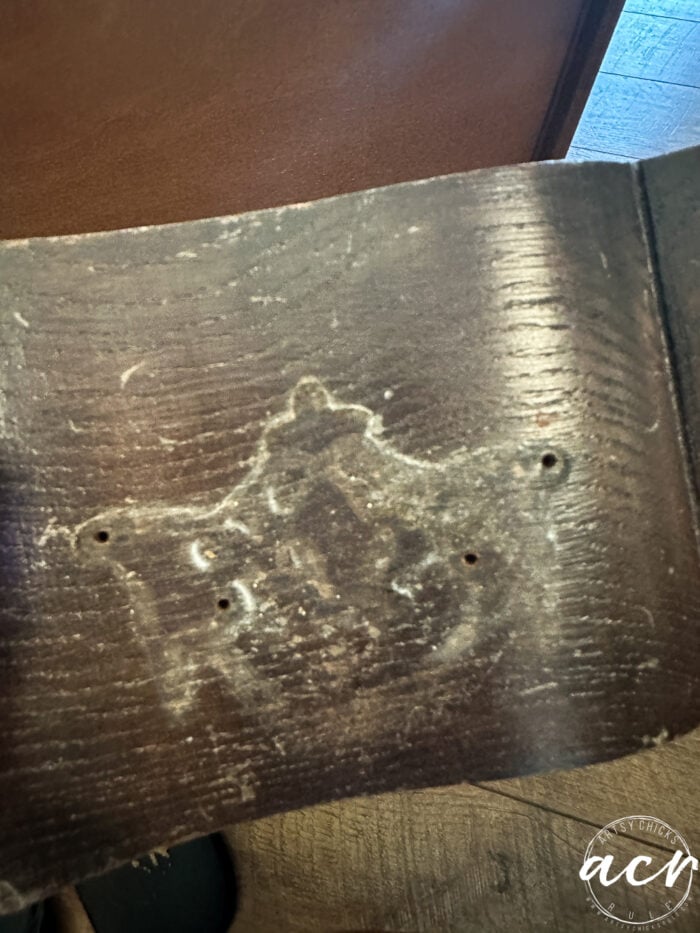
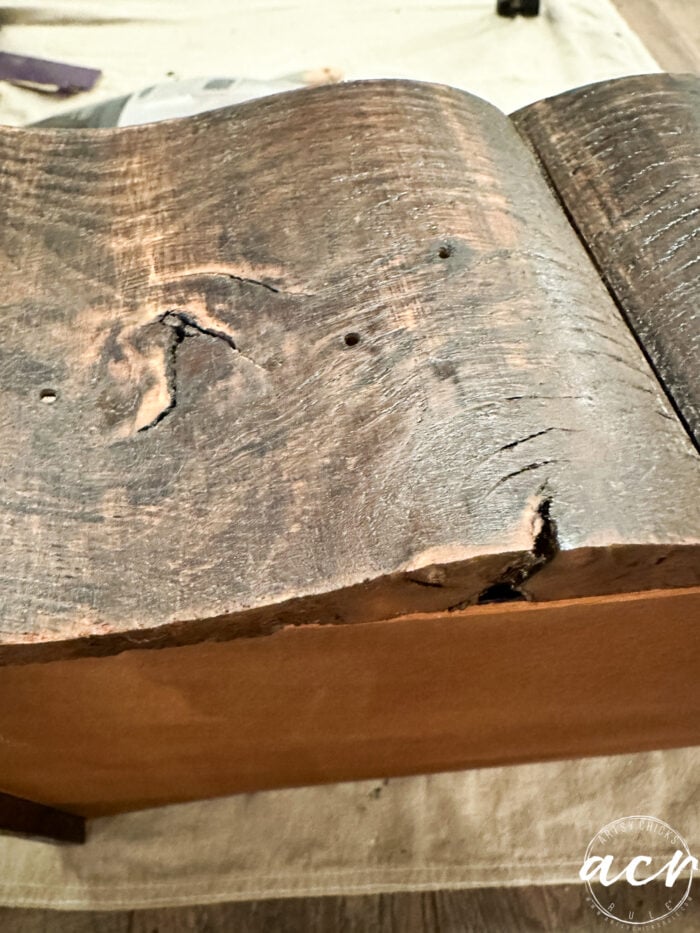
There was only one tiny area with missing wood that I had to repair with wood filler.
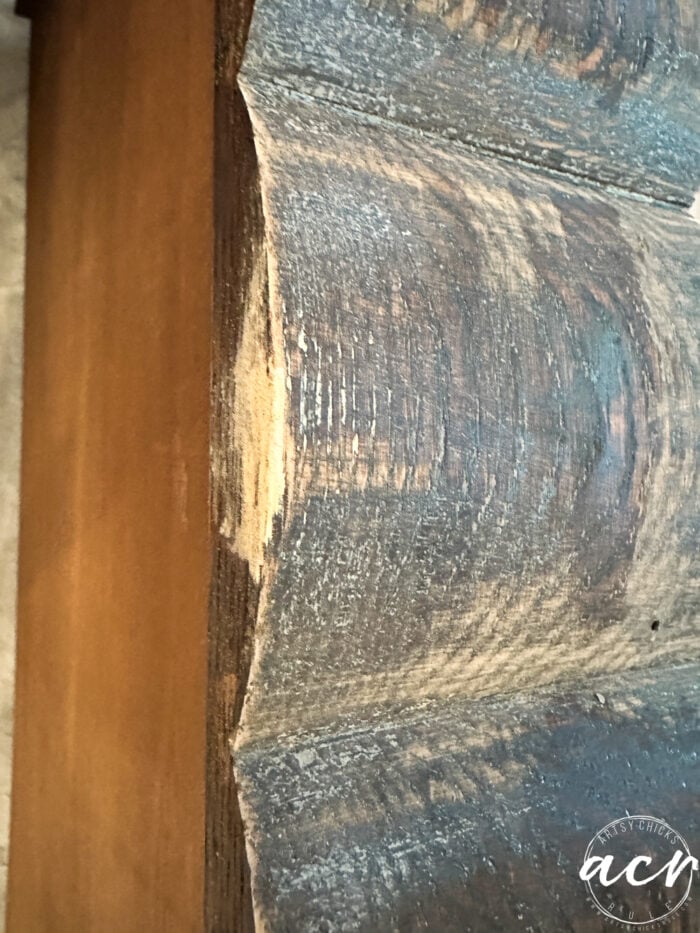
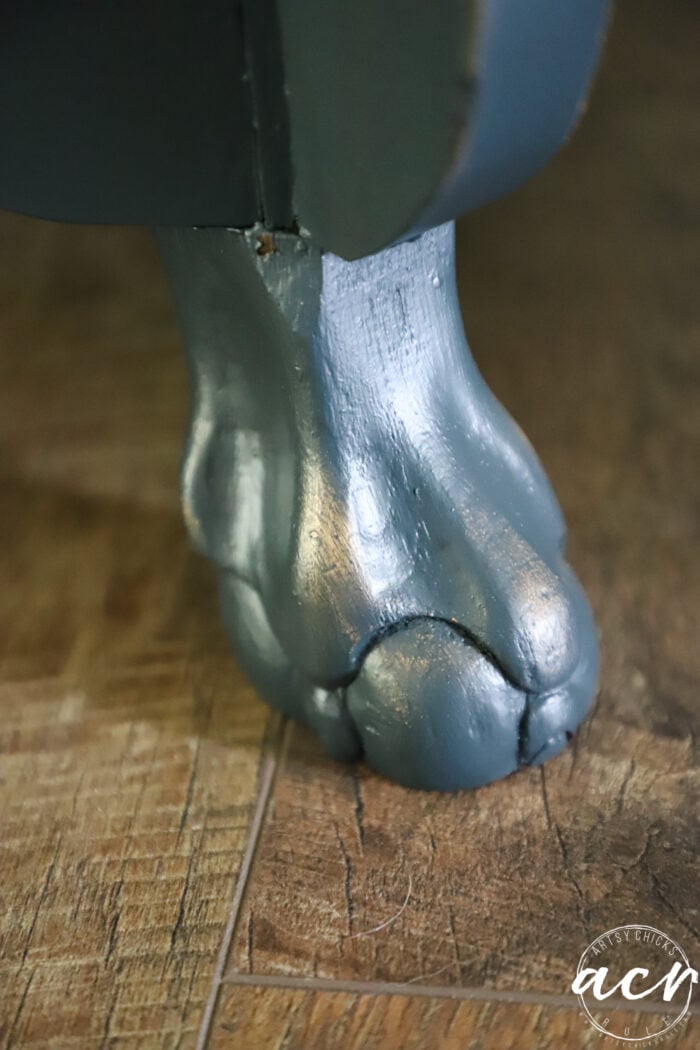
But check out how “rustic” the wood used for this dresser was.
Since it had the peeling finish (even though I sanded very well) I decided to use Ultra Grip before painting. And just to clarify, I removed all of that loose finish, but I wanted to go ahead and use this just in case.
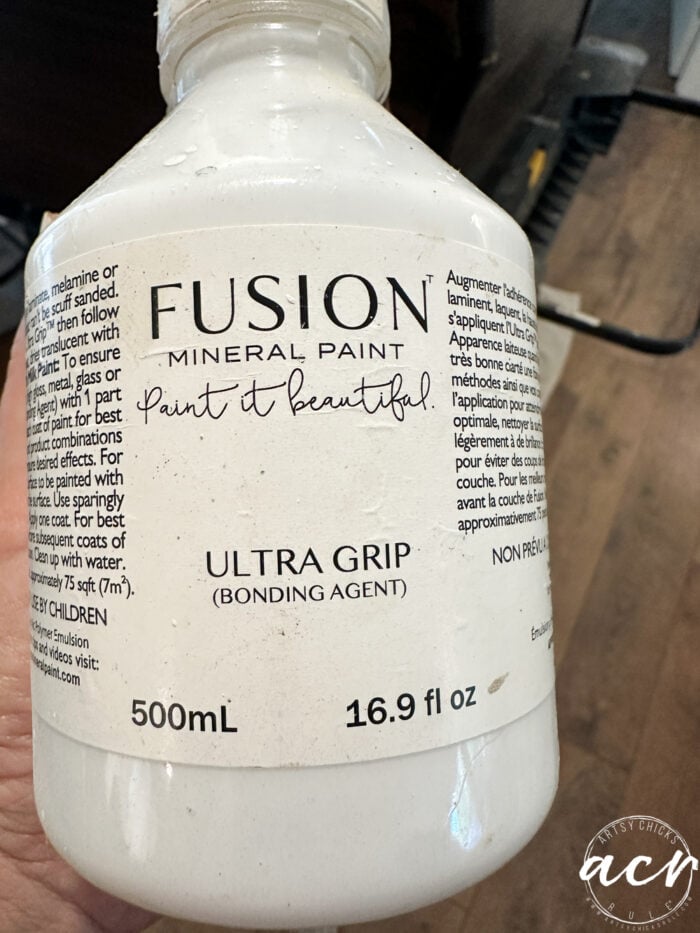
I LOVE our Ultra Grip. It’s so great for adherence, etc. It’s very easy to use, dries clear, and works amazingly well.
MATERIALS LIST – Small Dresser Makeover
PAINT
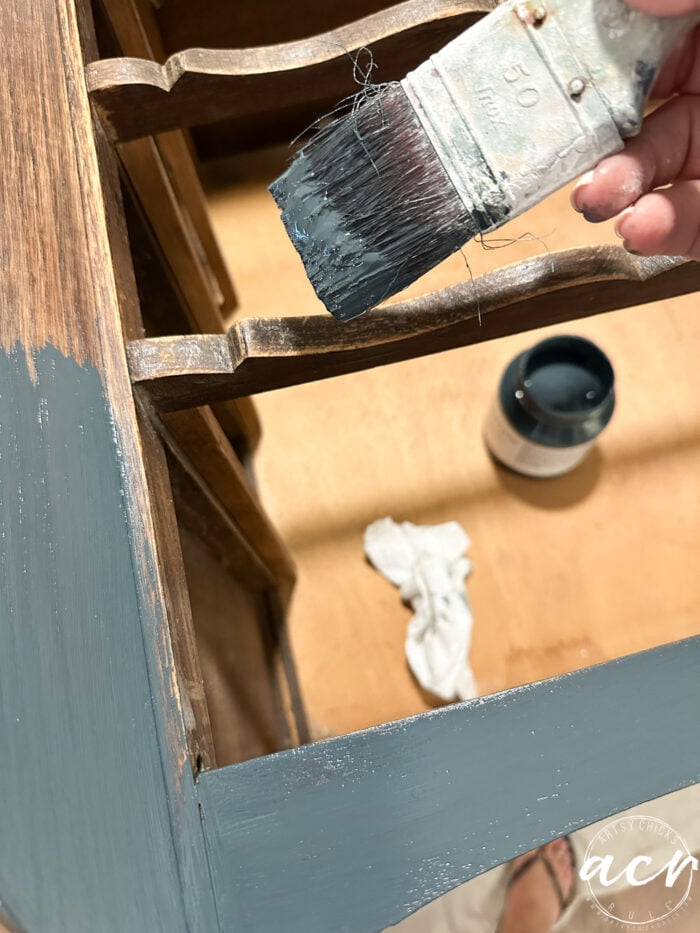
Then I pulled out a color I haven’t used yet.

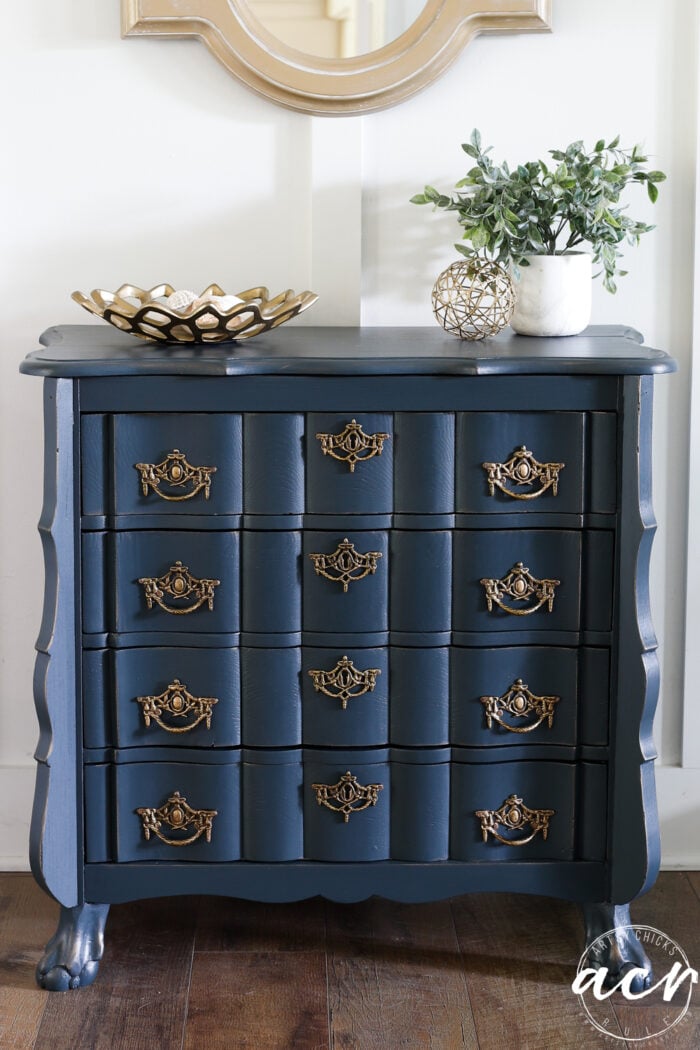
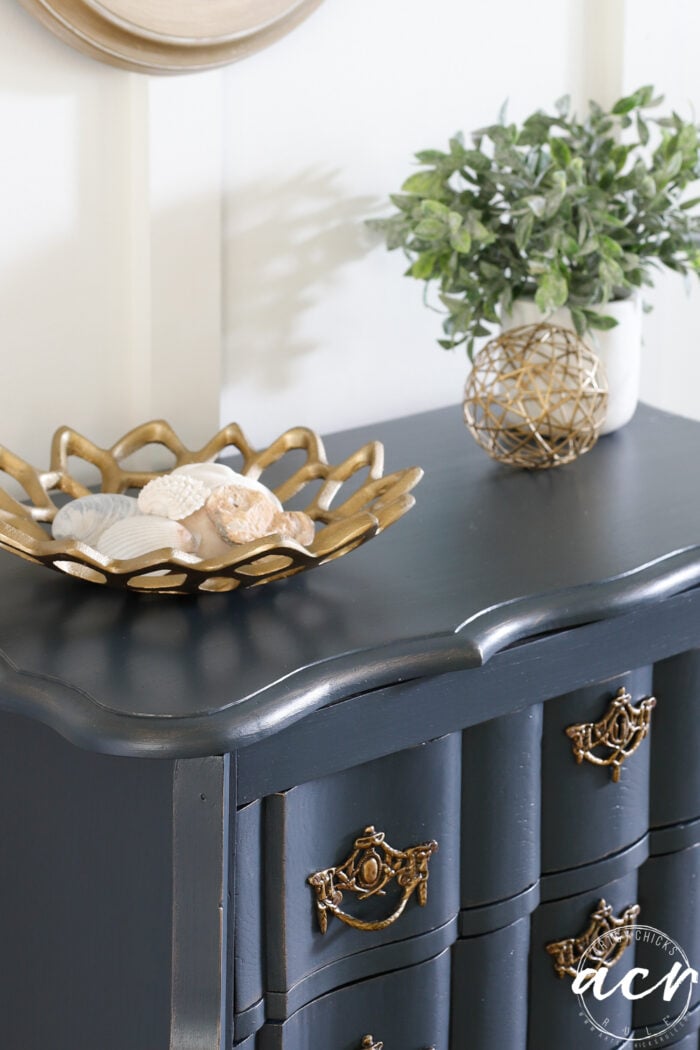
It’s a gorgeous, very “grown-up” blue. The color you see here, even though it’s wet, is most accurate. The daytime photos I took of the small dresser make it look a bit more like a bright blue than it truly is. It’s a very elegant shade of blue!
GILDER’S PASTE FOR THE HARDWARE
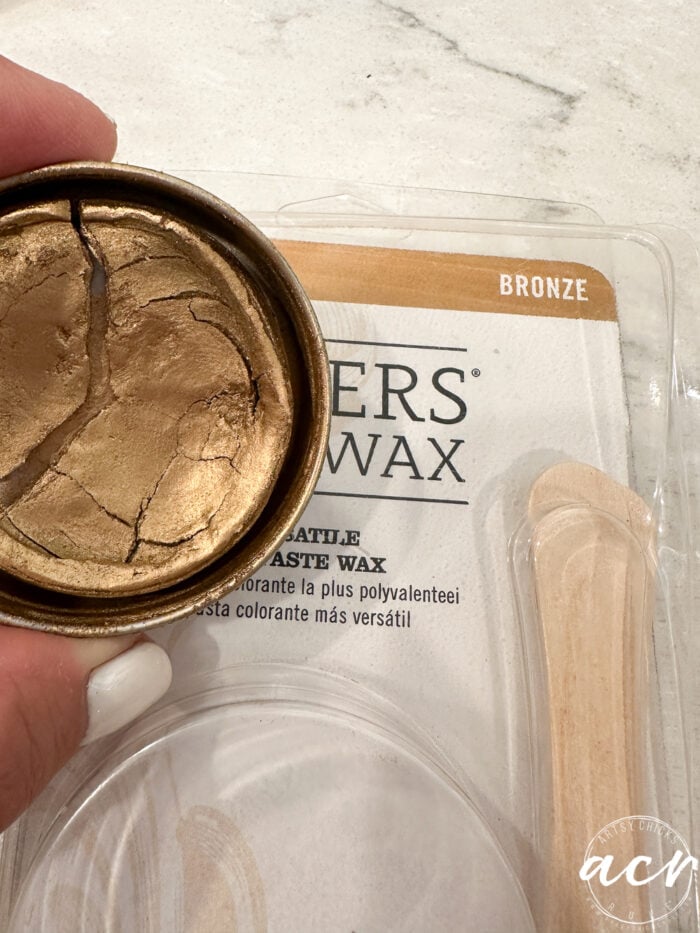
While I was waiting for the paint to dry, I worked on the hardware. I cleaned it up by soaking it in vinegar and baking soda, rinsed well, dried, and used this Bronze paste to add some color/sheen.
Isn’t that pretty??
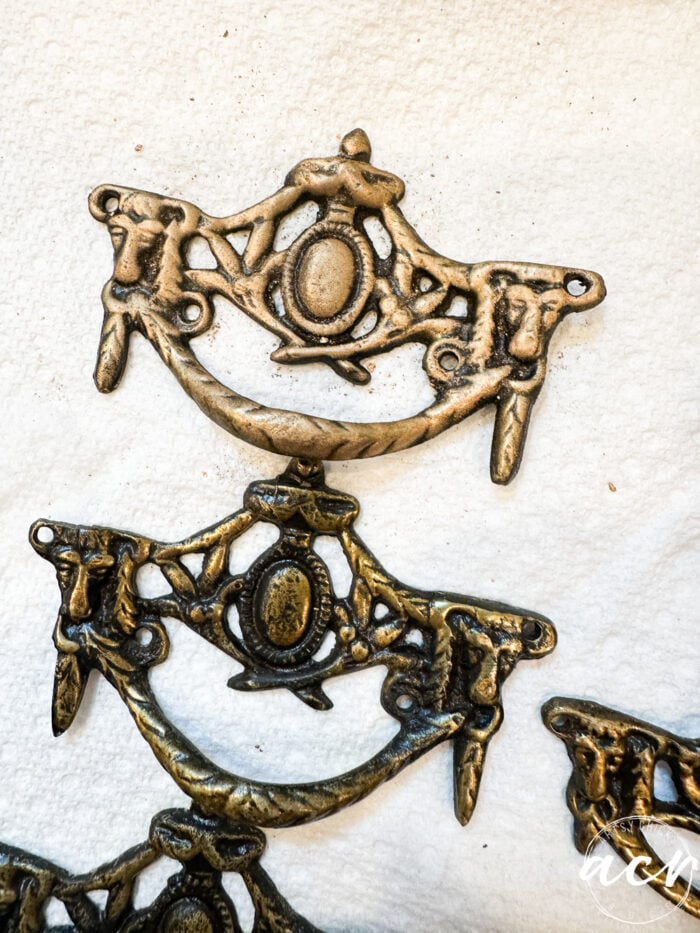
I love the color “Bronze” because it is the prettiest “gold”, in my opinion. It’s a warmer, not so in-your-face gold shade.
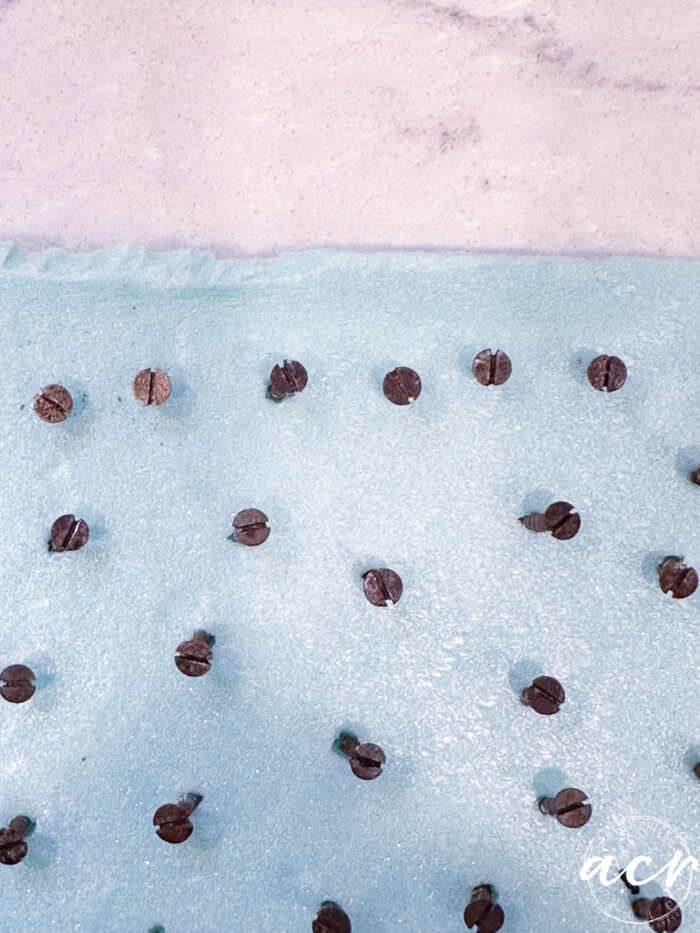
To give the small screws some of the gold color, I stuck them in some foam to hold them in place.
By the way, in case you are curious, I decided not to change out the hardware style on this small dresser for several reasons. First, they felt like they belonged on this small dresser; second, the curves in the front would’ve made it more difficult to find something that would fit.
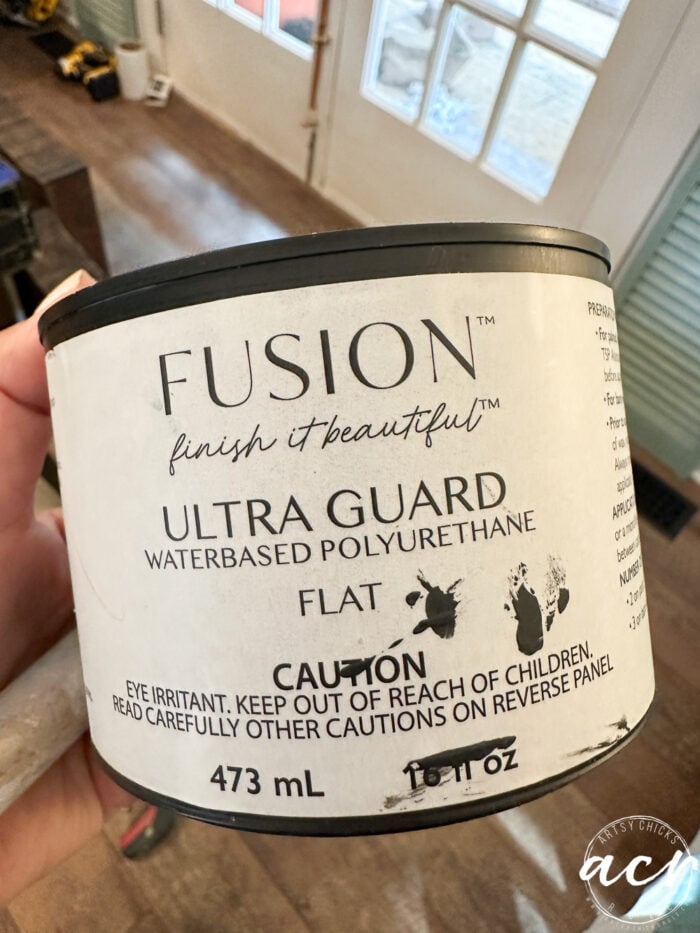
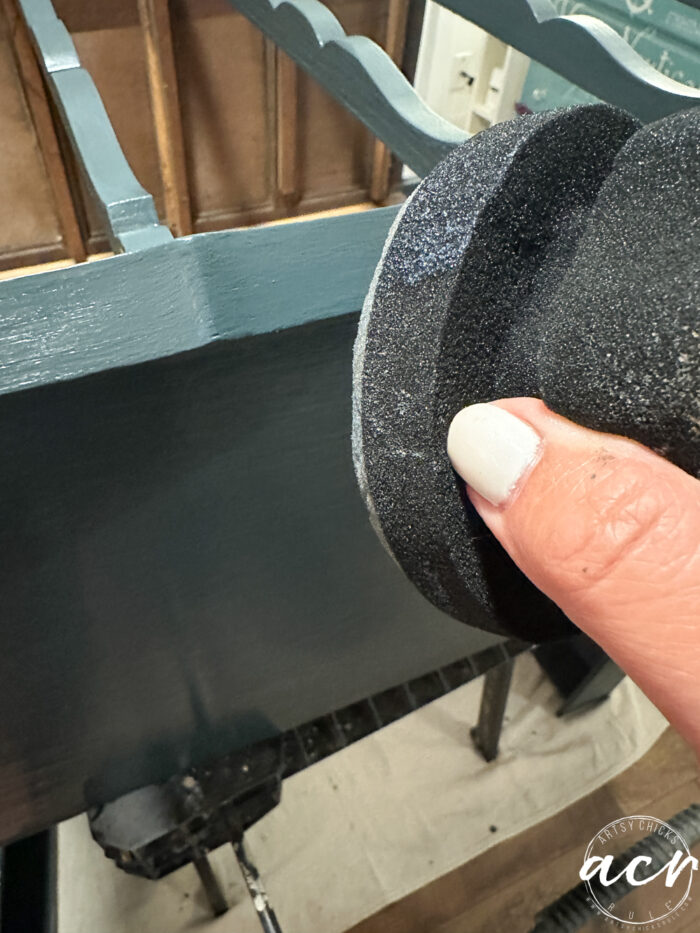
FINISH COAT
So, Fusion Mineral Paint does not require a topcoat at all, but I decided to give it a little extra protection with our Ultra Guard. I usually use our regular Tough Coat Topcoat (in matte), but love this one too.
I applied it with a brush and this sponge on all of the larger areas, (top, sides, etc)
ADD HARDWARE
Once that was fully dry, I added the hardware back to the drawers.
“SURPRISE” DRAWERS (INSIDE)
Sometimes I’ll do a little something extra on the inside of the drawers. Fabric, tissue paper, stencil, etc.
I painted the inside blue to match the outside.
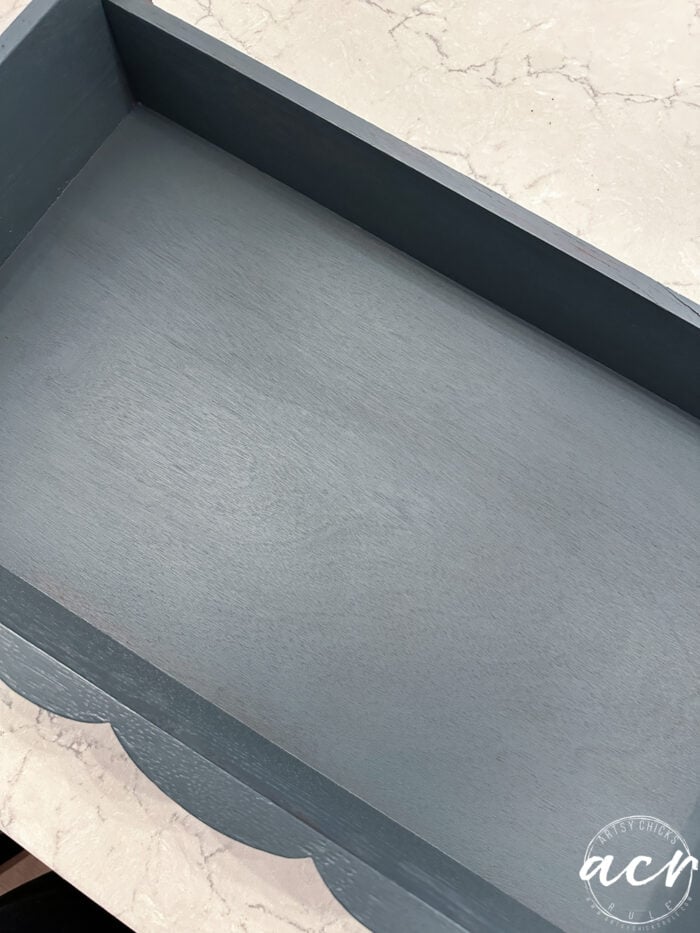
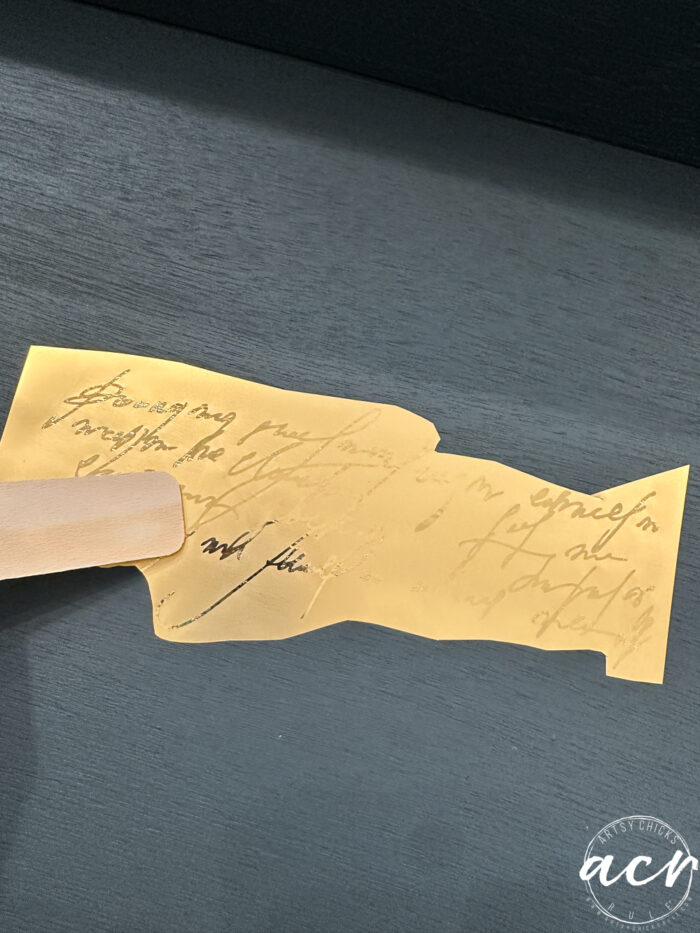
Then I decided to do this pretty script transfer on this one.
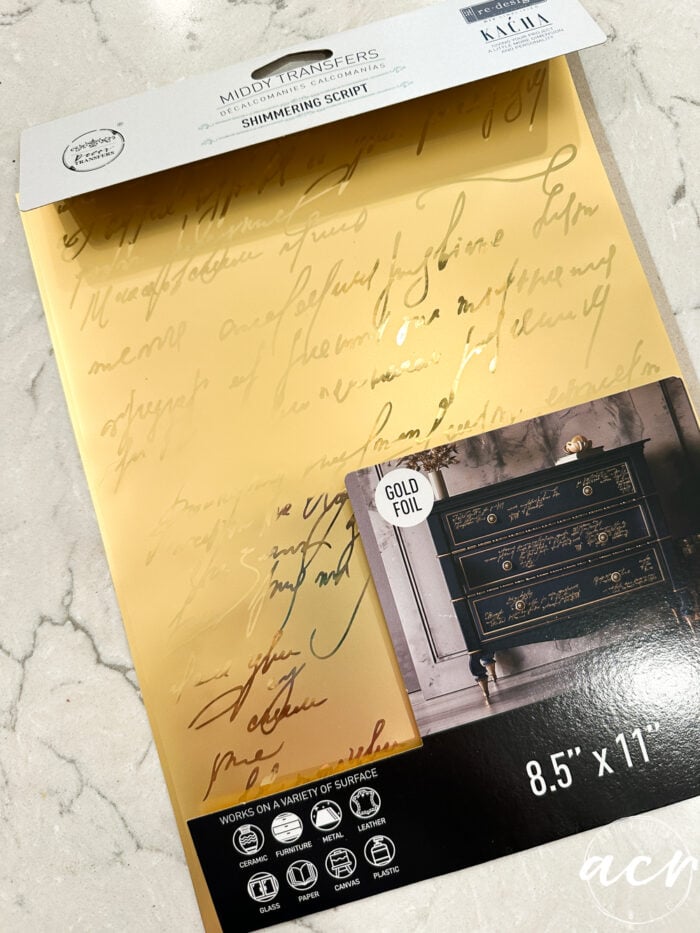
I cut several sections out to add to the bottom of the drawers.

Want to know how to use transfers?? I’ve got an entire post detailing how here >>> How To Use Rub On Decor Transfers
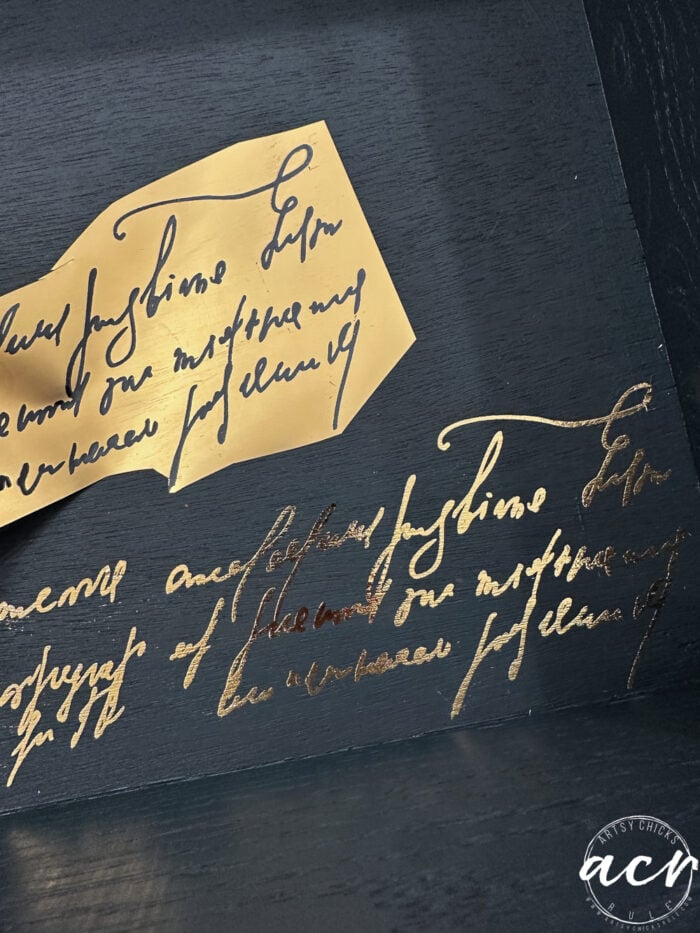
I feel like a little gold script is perfectly fitting to this little dresser.
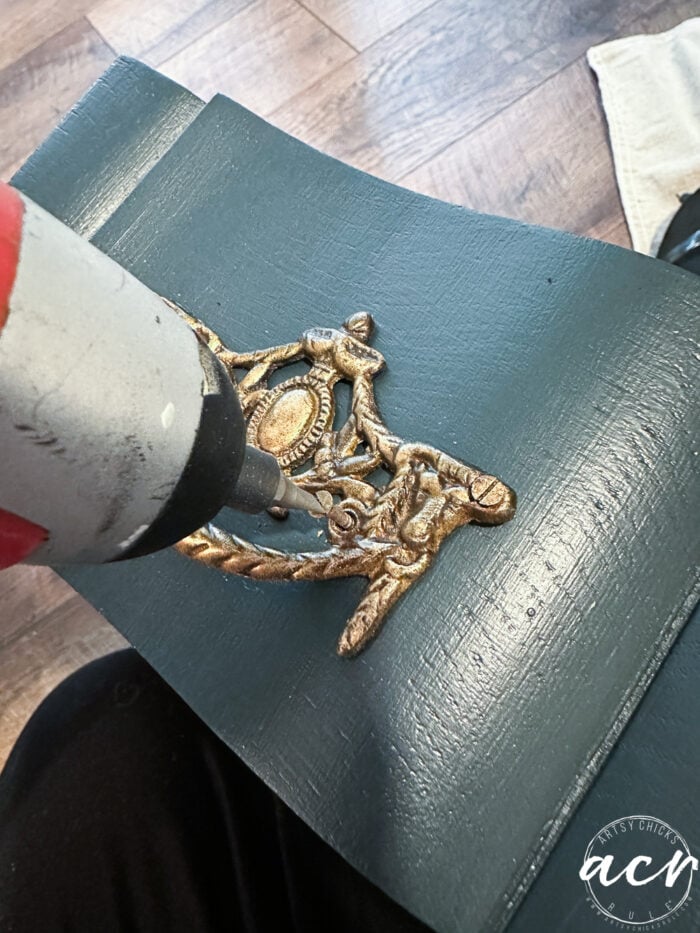
After that was completed, I stood back and looked at the whole thing. It was looking elegant and pretty, but it needed “more”. So, I pulled out the same “Bronze” Gilder’s Paste I used on the hardware to do it.
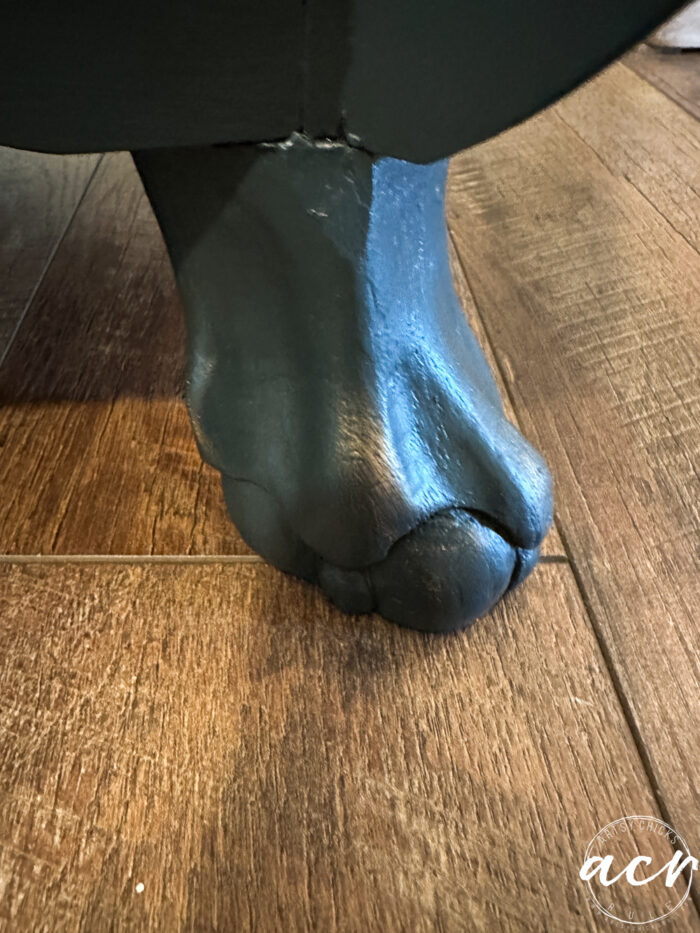
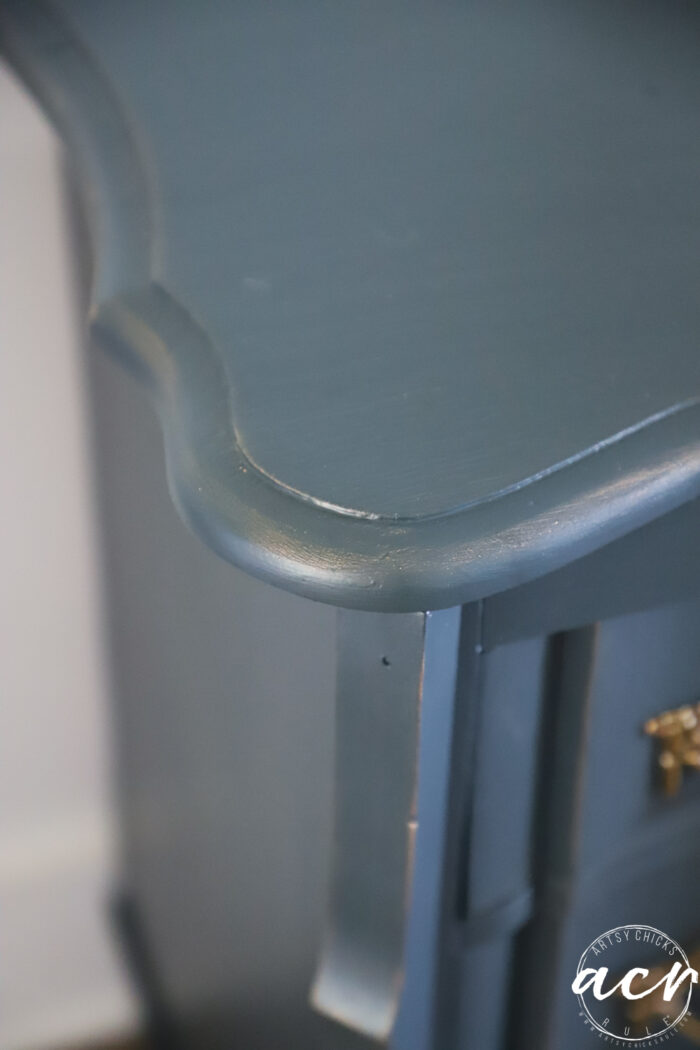
ADD GOLD ACCENTS
How about a little gold touch here or there? Sort of like when distressing, the same areas you would sand to distress is where I added a gold “touch”.
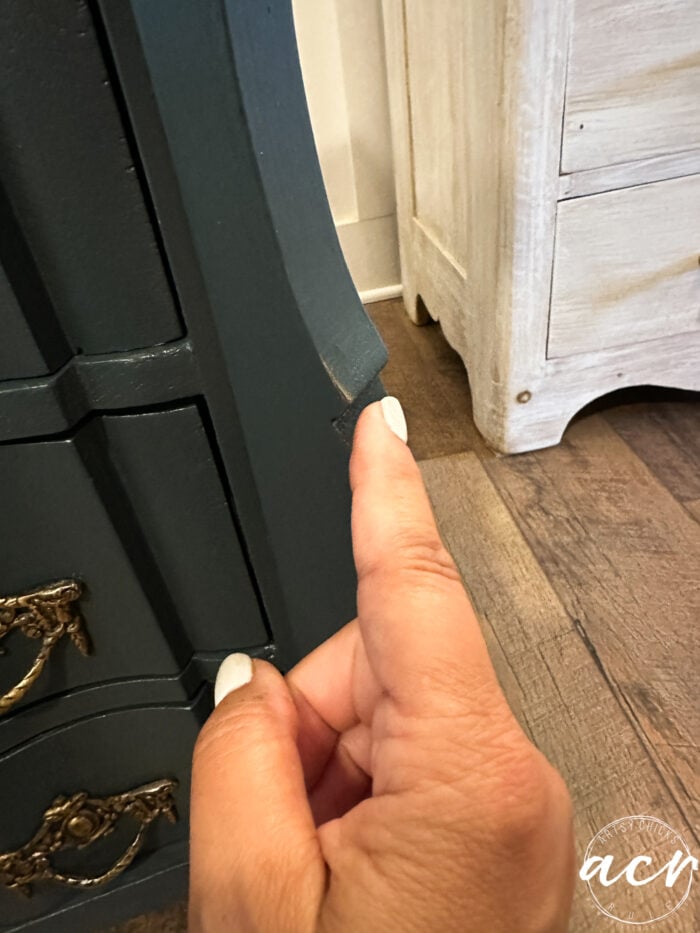
Simply rub it on with your finger. There are other ways, but I find this to be the best way. (You can wear a glove if you like.)
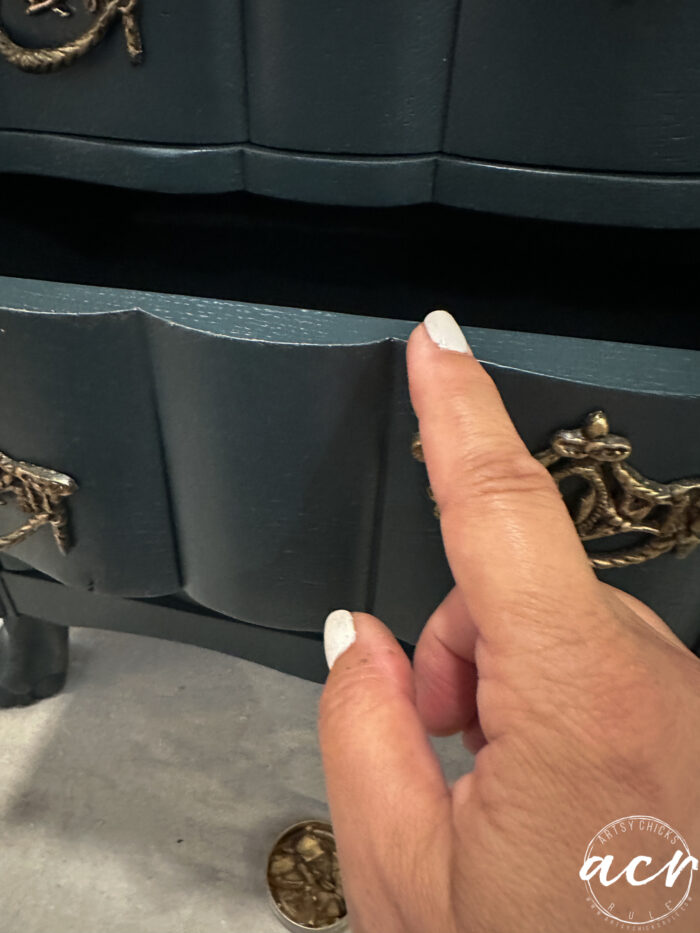
All of the edges got a touch of gold. I’ll share more of that in the “reveal” photos.
I absolutely love how that ended up looking. It was exactly what this sweet little dresser needed to finish her up!
SMALL DRESSER REVEAL
All finished!
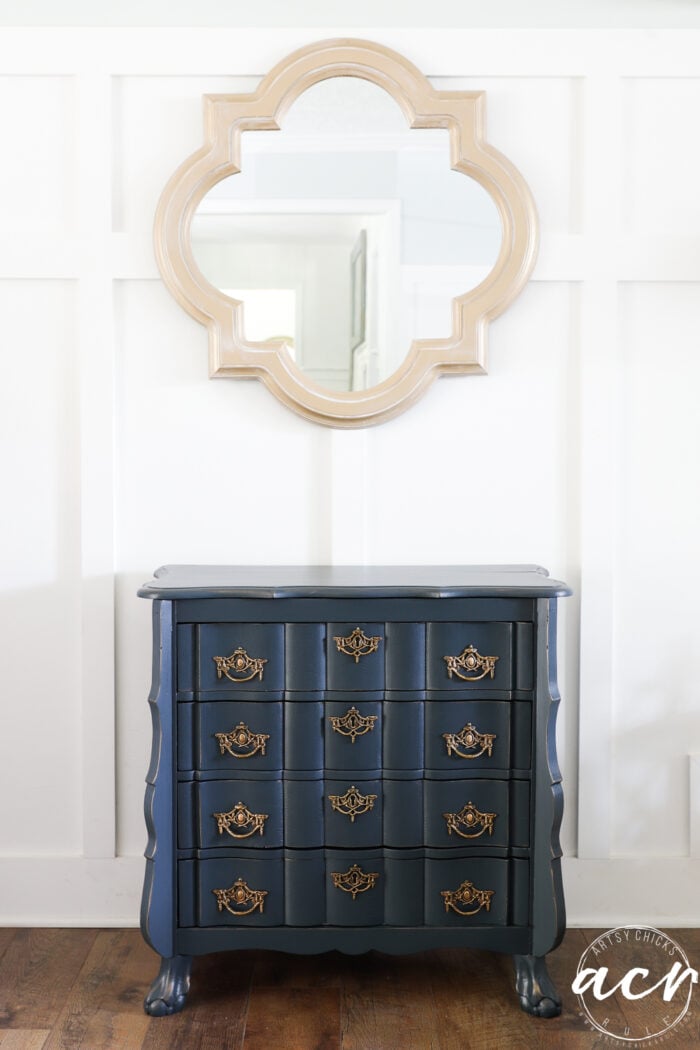
How glorious does she look compared to how she began??
What a little beauty she is.
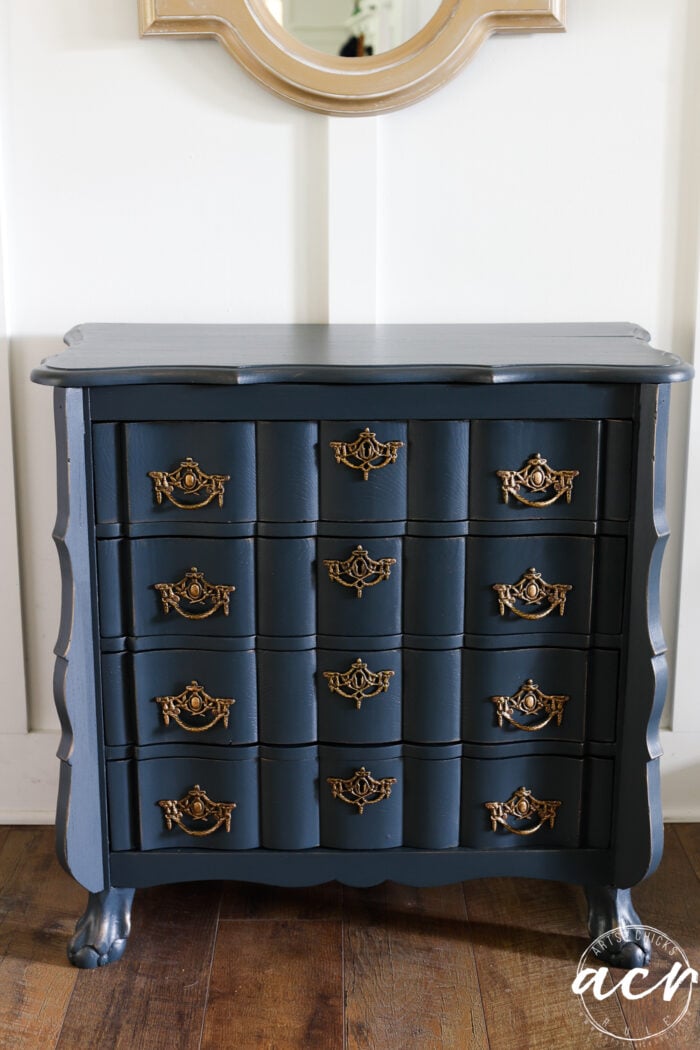
See the gold on the edges all over??
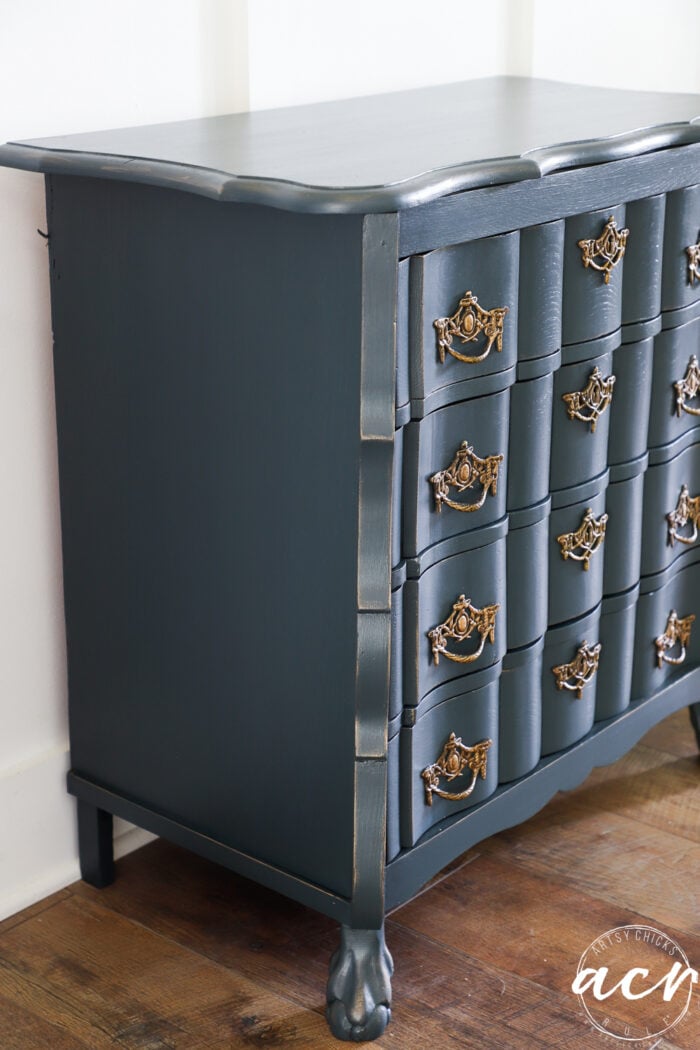
Just gives it that little extra something-something.
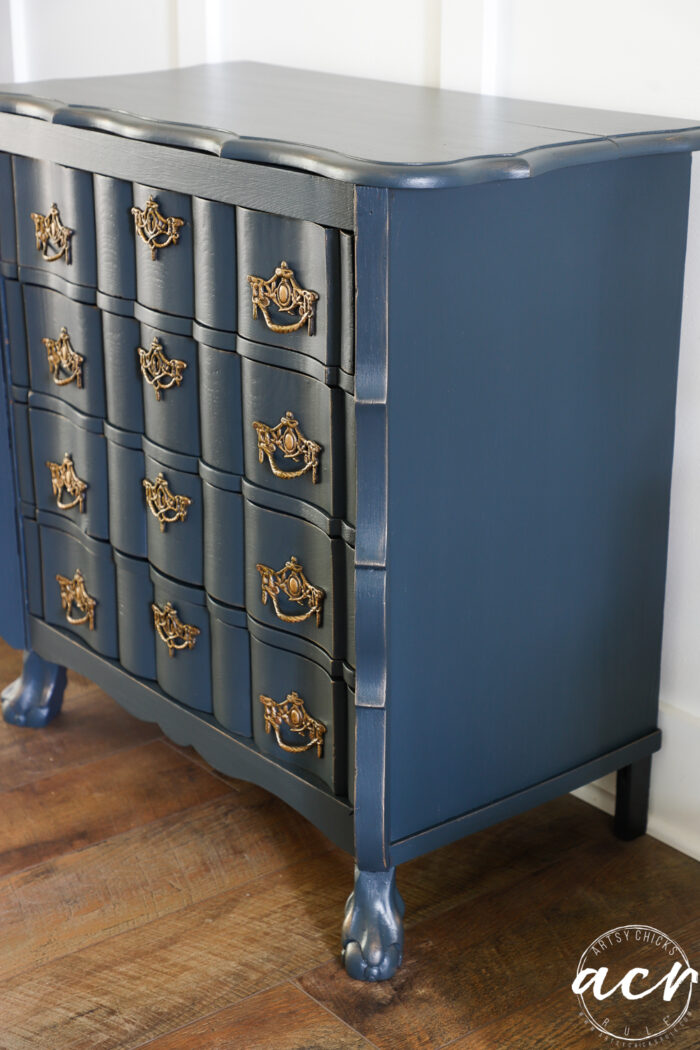
A touch more elegance.
And how about those surprise drawers??

I staggered the transfers, first drawer on the bottom right…
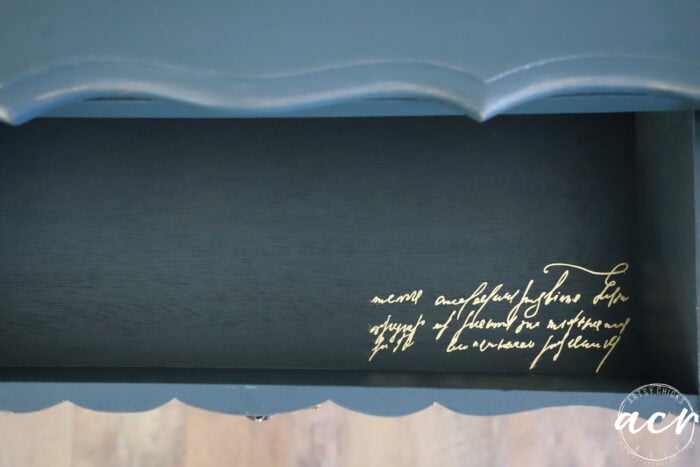
…second, bottom left…
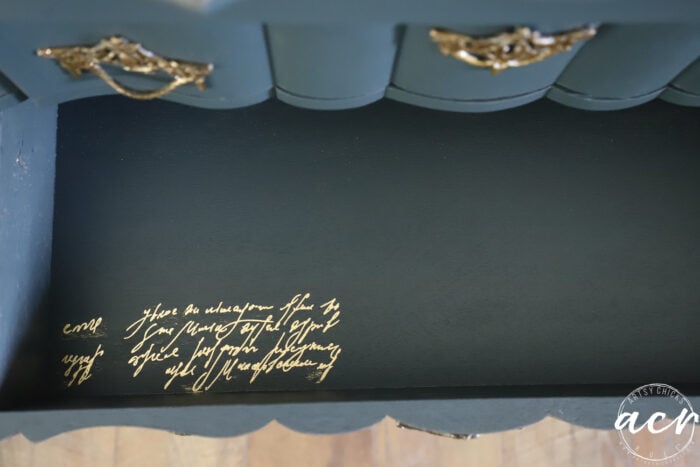
…third, in the middle…
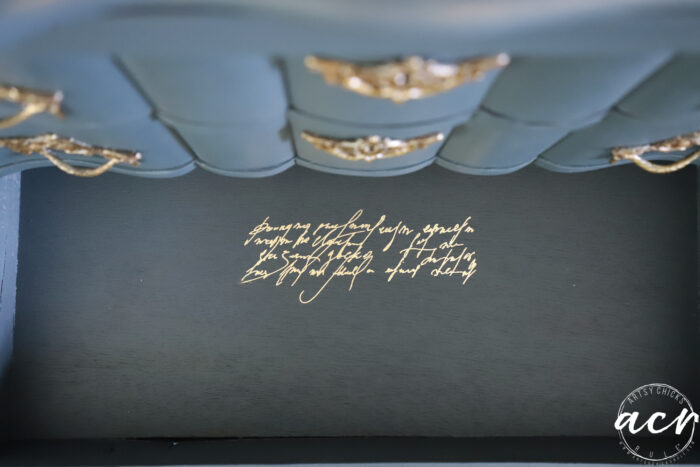
…, fourth, in the middle, on the bottom of the drawer.

Just for a little fun! Different placement on each one.
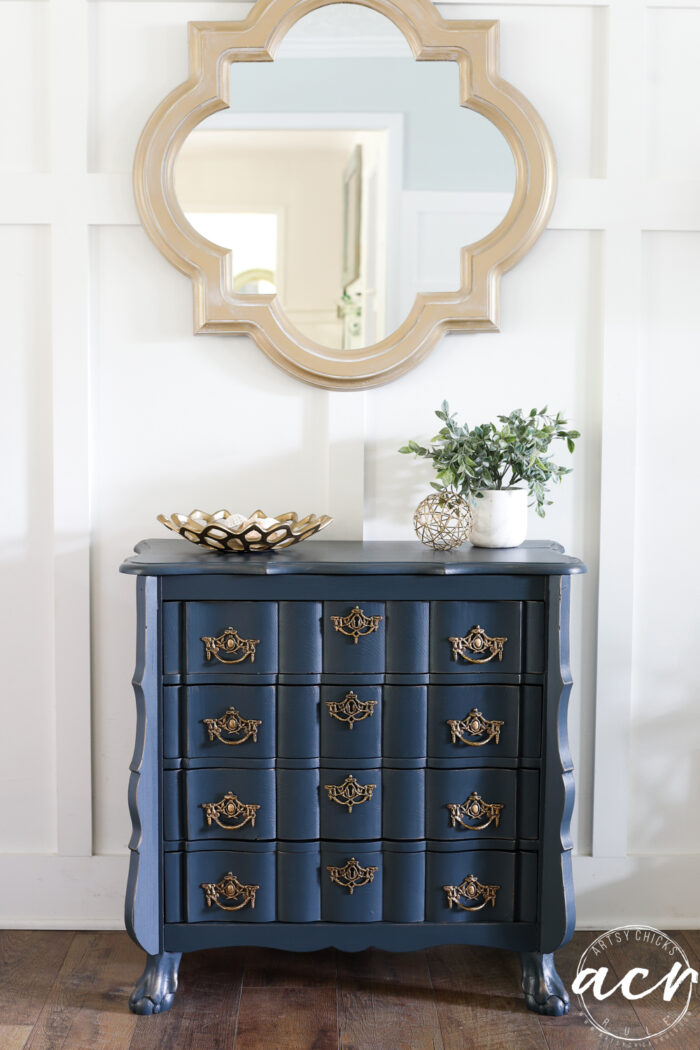
This little beauty is all ready for many more years of enjoyment!
PIN it to save it!
Don’t forgot to hop on over and visit my friends’ makeovers too!
- Confessions of a Serial DIYer
- Salvaged Inspirations
Hope you enjoyed all the makeovers!! Have a wonderful week, friends!
xoxo